Follow Me On Social Media!

Butter Tart Bliss: The Best Homemade Treat You’ll Crave
Introduction to Butter Tarts
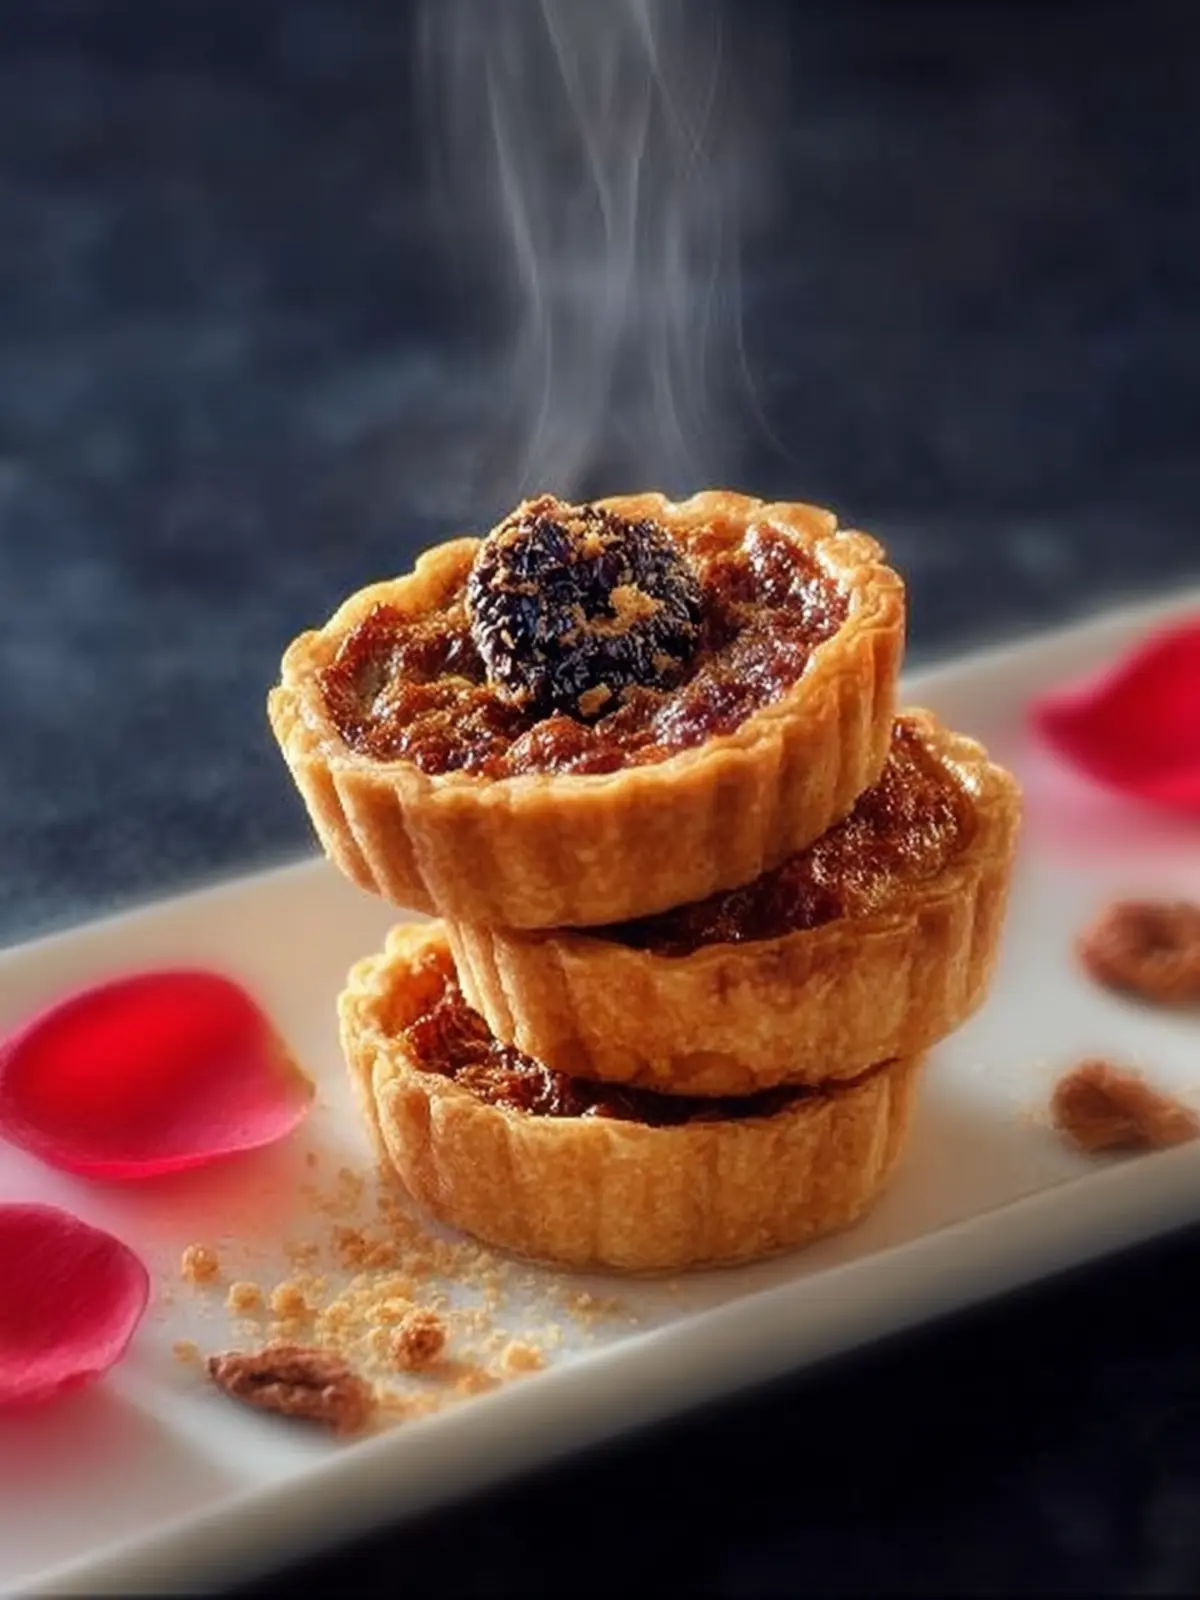
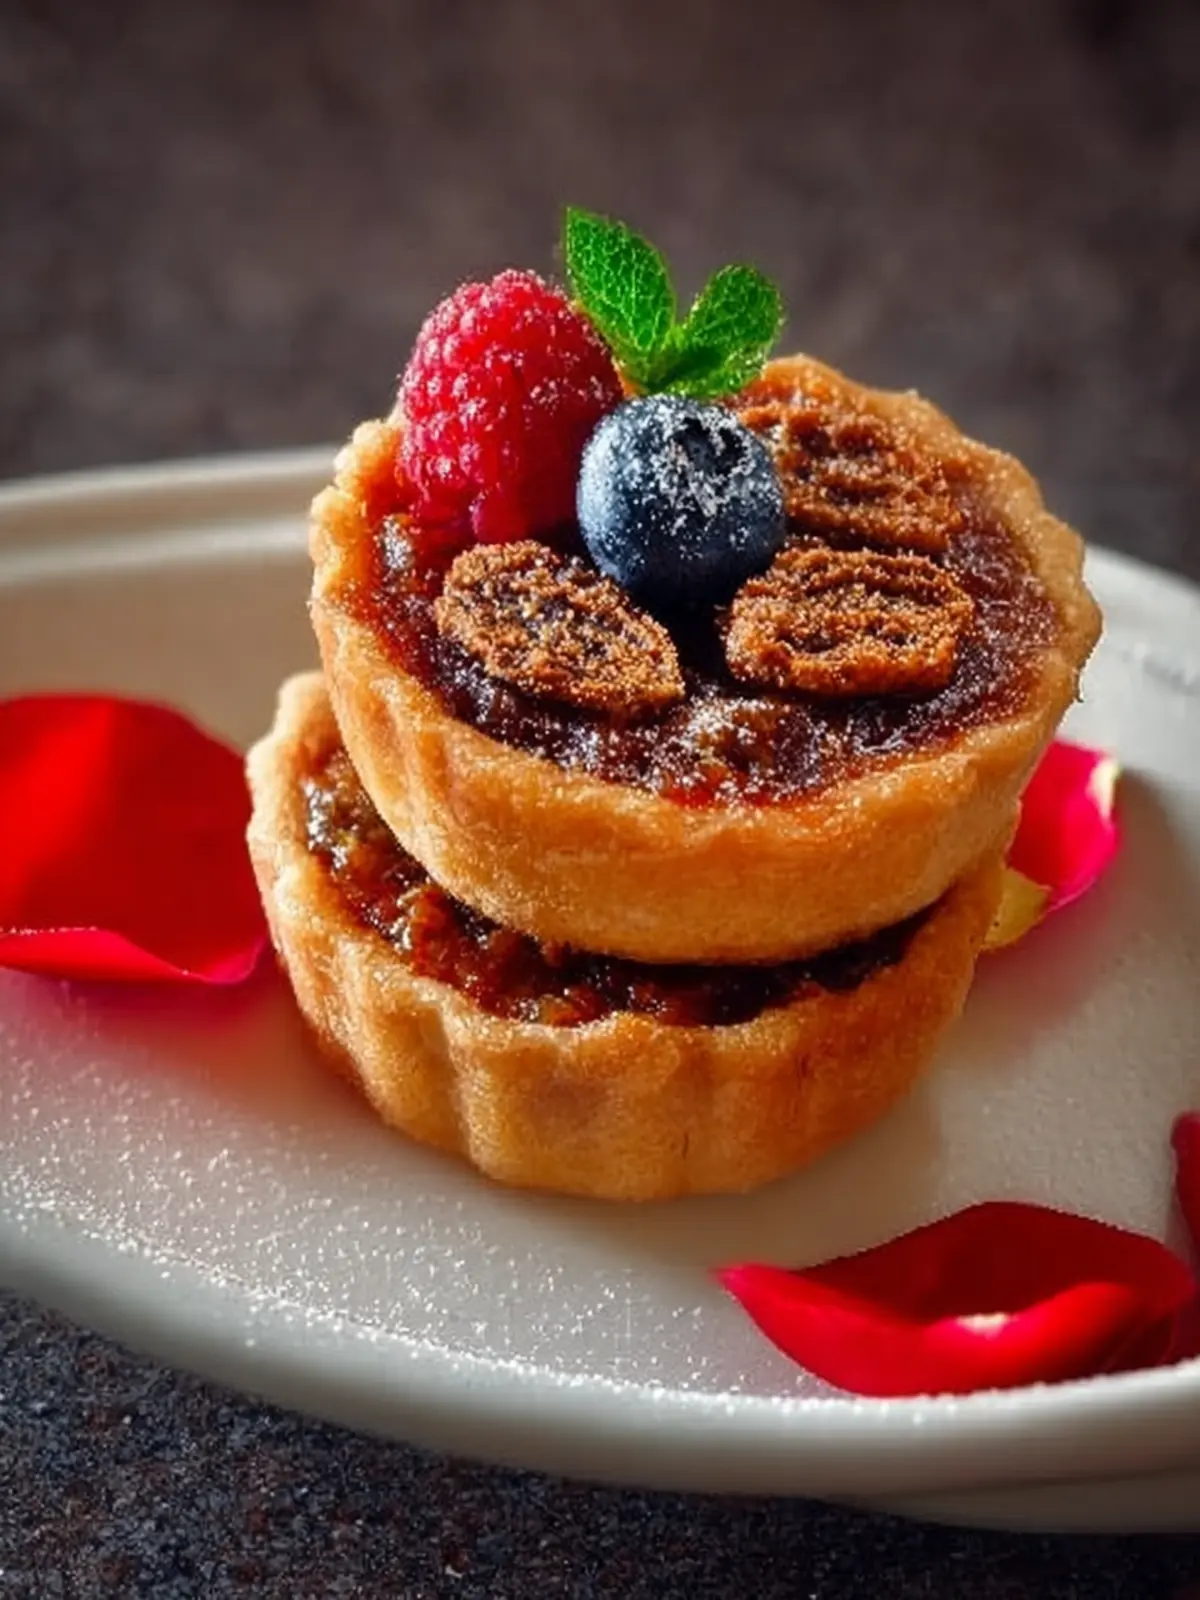
The butter tart has a way of drawing you in with its sweet, buttery aroma, evoking memories of cozy family gatherings and childhood adventures in the kitchen. As a quintessential Canadian treat, these tiny tarts are more than just a dessert; they embody a warm sense of nostalgia and community. Imagine the first bite: the soft, flaky crust gives way to a rich filling that’s equal parts sweet and buttery, perfectly capturing the essence of home-cooked comfort.
The Sweet Nostalgia Behind Every Bite of Butter Tarts
It’s fascinating how a simple dessert can carry such profound memories. For many, butter tarts symbolize those cherished moments spent baking with loved ones, perhaps with a grandmother who shared her secret recipe. They possess a blend of textures—crunchy, tender pastry enveloping gooey filling, all harmonized with the sweet scent of vanilla or maple. Is there a more comforting sight than a tray of freshly baked butter tarts cooling on the counter?
Traditionally, Canadian butter tarts are rich with ingredients like sugar, butter, and eggs, which create a filling that can either be runny or set, depending on preference. While some enthusiasts debate whether to include raisins or nuts—adding an element of surprise within the luscious filling—the true allure lies in the classic simplicity and versatility of the tart itself.
As you embark on your own butter tart journey, remember that this recipe is not just about the ingredients but also about the stories they tell. Each tart you create holds the potential to spark joy, ignite laughter, and inspire new traditions. The sweet balance of sugar and butter, combined with the flaky pastry, serves as a delightful reminder of the beauty found in simple pleasures.
Whether you enjoy a classic or put your own twist on the filling, making butter tarts is more than just a recipe; it’s an invitation to savor the past while creating memories for the future. So roll up your sleeves, gather your ingredients, and get ready to celebrate this treasured dessert that continues to warm hearts one bite at a time.
Key Ingredients for Butter Tarts
Creating the perfect butter tart is all about selecting high-quality ingredients that come together to make an irresistible treat. Here’s a rundown of what you’ll need:
-
Butter: The star of the show! I always opt for unsalted butter because it allows me to control the saltiness in my recipe. This ingredient contributes to the rich, buttery flavor and flaky crust we all crave.
-
Brown Sugar: This is a crucial player in achieving that caramel-like sweetness and gooey texture. Dark brown sugar brings a deeper flavor, while light brown sugar gives a milder touch.
-
Eggs: For that plush, custard-like filling, fresh eggs are essential. They help bind everything together while providing a delightful richness that coats your palate.
-
Corn Syrup: This ingredient is the key to a perfectly textured filling. It helps prevent crystallization and gives that delightful sticky sweetness.
-
Vanilla Extract: A splash of pure vanilla extract enhances the flavor profile beautifully, rounding out the sweetness with its warm, aromatic notes.
When combined, these ingredients create a butter tart that’s not only delicious but also embodies a piece of tradition and comfort often shared during gatherings.
Why You’ll Love Butter Tarts
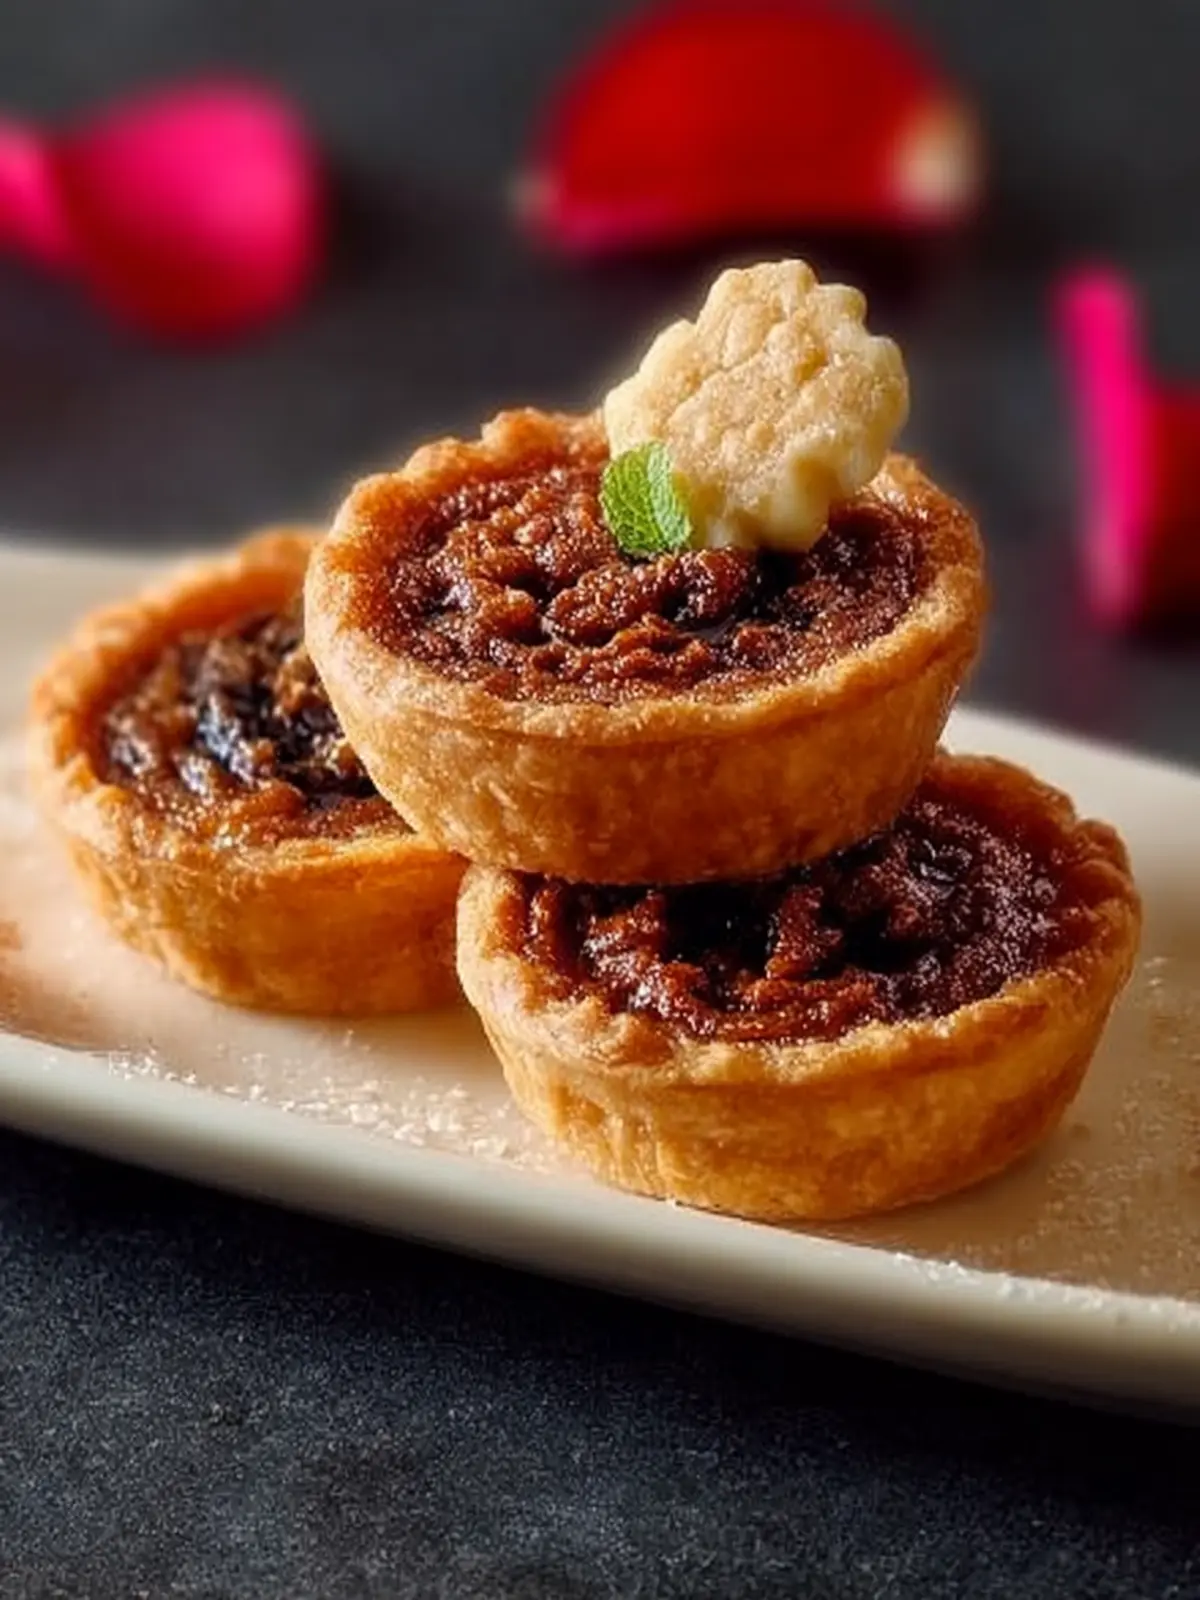
Butter tarts are more than just a dessert; they are a delightful journey into comfort food. Picture this: a flaky, golden crust cradling a warm, gooey filling that has the perfect blend of sweetness and richness. These tarts have a way of making any occasion feel special, whether it’s a simple dinner with friends or a holiday feast.
Here’s what makes butter tarts irresistible:
-
Comforting Flavors: The buttery, caramel-like filling is a nostalgic reminder of childhood baking. With just the right amount of sweetness, each bite brings pure delight.
-
Versatility: You can customize your butter tarts by adding raisins, nuts, or even chocolate chips. The possibilities are endless, allowing you to create a version that suits your taste.
-
Simplicity: Creating these tarts is straightforward with just a few ingredients. It’s a perfect recipe for both novice bakers and seasoned pros. The joy of mixing, pouring, and baking brings a sense of accomplishment.
-
Cultural Charm: Originating from Canada, butter tarts are a beloved classic. Sharing them is a wonderful way to connect with friends and family, creating lasting memories around the kitchen table.
Once you take your first bite, you’ll understand why these tarts have secured a place in countless hearts (and bellies) over the years.

Variations of Butter Tarts
Exploring the delightful world of butter tarts opens up an amazing universe of flavors and textures. Each variation tells a story, reflecting local tastes and individual preferences. Whether you stick to the traditional recipe or want to mix it up, butter tarts can be incredibly versatile!
Nutty Twist
Adding nuts to your butter tarts enhances their crunch and flavor. Pecans or walnuts work beautifully, providing a savory contrast to the sugary filling. If you’re a fan of nutty flavors, don’t hesitate to get creative with different nuts or even almond extract for an extra layer of richness.
Fruit Infusion
For those who enjoy a fruity finish, consider incorporating dried fruits like raisins or cranberries into your tart mixture. Fresh fruit, such as blueberries or raspberries, can also be added to create a refreshing and vibrant twist. The tartness of the fruits beautifully balances the sweetness of the filling.
Chocolate Indulgence
If chocolate is your thing, why not add a bit of cocoa or chocolate chips to the filling? This creates a rich, chocolaty experience that elevates the classic butter tart into a luxurious treat. The combination of butter and chocolate offers a decadent bite that’s hard to resist.
With these variations, your butter tarts will never feel ordinary. Each twist allows you to tailor them to your taste and those of your guests, ensuring that every batch is uniquely yours!
Cooking Tips and Notes for Butter Tarts
Creating the perfect butter tart is not just an art; it’s a delightful journey. When I first tried my hand at this classic treat, I was captivated by how a few simple ingredients could come together to create such heavenly sweetness. Here are some tips and notes to help you achieve butter tart perfection in your kitchen.
Choosing Your Ingredients
- Butter: Opt for unsalted butter to control the saltiness of your tarts. This helps to enhance the natural sweetness of the filling.
- Sugar: A mix of brown sugar for its rich, caramel-like flavor, and granulated sugar for a lovely sweetness works wonders. Adjust according to your taste preference.
- Eggs: Fresh eggs are essential for binding the filling together. Be sure they are at room temperature for the best results.
- Syrup: Using maple syrup can elevate your butter tart to new heights, adding depth in flavor. If you don’t have it, corn syrup is a suitable substitute.
Crust Magic
- Chill Your Dough: After mixing your dough, let it chill in the refrigerator. This firming-up process helps prevent shrinkage during baking.
- Don’t Overwork the Dough: Mix just until combined to keep the crust tender and flaky.
Baking Tips
- Watch Cooking Time: Keep a close eye on bake time. Every oven is different, and overcooked tarts can become rubbery.
- Cooling Period: Allow the tarts to cool before serving; they continue to set as they cool down.
Enjoying a butter tart is one of life’s simple pleasures, and with these tips, you’ll be well on your way to creating a batch that’s bound to impress your friends and family!
Serving Suggestions for Butter Tarts
When you take a bite of a delicious butter tart, the gooey filling and flaky crust bring comfort and warmth, evoking memories of home baked goods. You can elevate this classic dessert experience with some thoughtful serving suggestions that cater to various preferences and occasions.
Pair with Fresh Fruits
Adding a side of fresh fruit can create a delightful balance to the rich sweetness of the butter tart. Consider serving them with:
- Slices of fresh strawberries or raspberries for a tart contrast
- A handful of blueberries for a burst of freshness
- Chunks of ripe peaches for a sweet and juicy accompaniment
Ice Cream is Always a Good Idea
Indulging in a warm butter tart alongside a scoop of vanilla or caramel ice cream makes for a heavenly combination. The coolness of the ice cream melts deliciously against the warm filling—trust me, your taste buds will thank you!
Drizzle with Caramel Sauce
For that extra touch of decadence, a drizzle of homemade or store-bought caramel sauce on top of your butter tart can make a huge difference. The gooey caramel accentuates the sweet filling and adds another layer of flavor that dessert lovers can appreciate.
Create a Dessert Platter
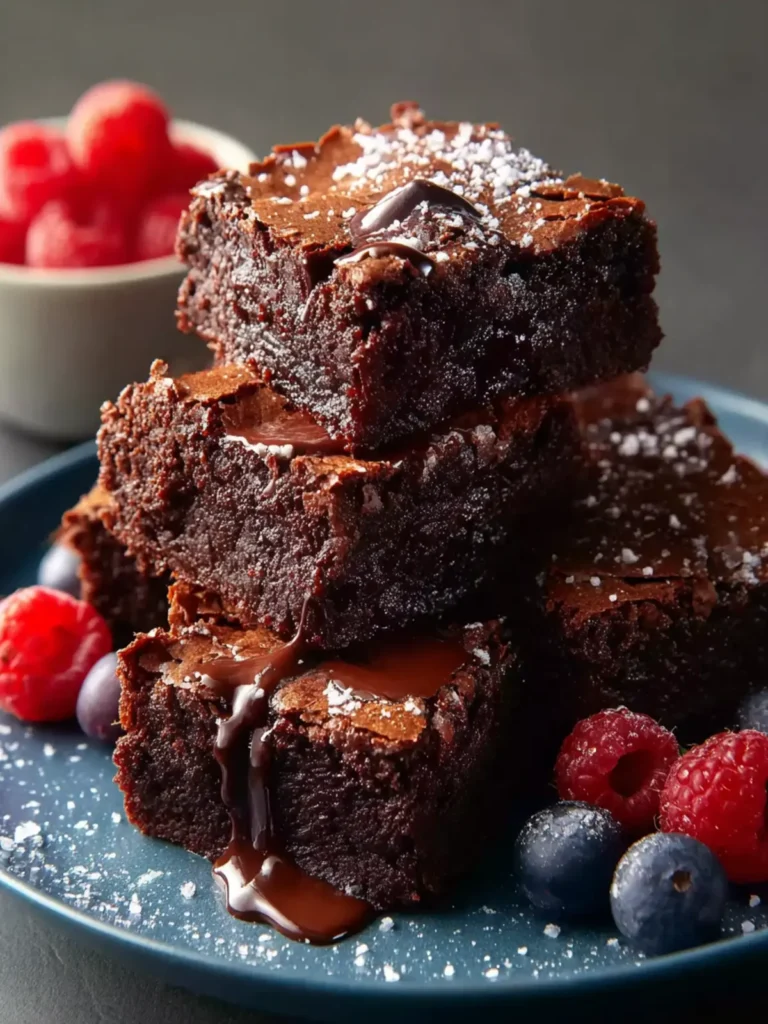
If you’re hosting a gathering or tea party, consider serving butter tarts as part of a dessert platter. Include a variety of treats such as brownies, cookies, and mini muffins, allowing guests to sample multiple delights while enjoying the buttery goodness of your tarts.
By incorporating these butter tart serving suggestions, you’re sure to delight your friends and family while emphasizing the homemade charm of this classic treat!
Time Breakdown for Butter Tarts
Creating the perfect butter tart is not only a delightful journey but also a manageable one. Knowing how to allocate your time can make the experience even more enjoyable, especially when you’re eagerly anticipating that sweet, gooey center.
Preparation time
The preparation for these butter tarts takes about 20 minutes. This includes gathering your ingredients—like buttery pastry and creamy filling—and setting up your workspace. A well-organized kitchen always helps things move smoothly!
Baking time
Once your tarts are assembled, pop them in the oven to bake for 25-30 minutes. This is where the magic happens; you’ll love watching them puff up and turn golden brown.
Total time
In total, you’re looking at about 50-60 minutes from start to finish. That’s just enough time to brew a cup of coffee and get cozy while the delightful aroma fills your kitchen. Enjoy every bite of these classic butter tarts!
Nutritional Facts for Butter Tarts
Butter tarts are a delightful treat, but let’s take a moment to understand the nutritional profile of this traditional Canadian dessert.
Calories
In one butter tart, you can expect to consume approximately 200-300 calories. This can vary based on the specific ingredients used and portion size, but it’s a fun indulgence during a cozy gathering or a sweet pick-me-up.
Fat Content
The fat content in a butter tart ranges from 10 to 15 grams per tart. This is primarily due to the butter in the pastry crust and the rich filling. While it’s a higher-fat treat, enjoying it in moderation is key!
Sugar Content
Each delicious butter tart typically contains about 20-30 grams of sugar. Most of this sugar comes from the filling, which is made with brown sugar and corn syrup, providing that irresistible sweetness that makes them so hard to resist.
FAQs about Butter Tarts
Embarking on the delightful journey of butter tarts often raises a few questions, especially for those experiencing these delectable treats for the first time. Let’s address some common queries!
What is the difference between butter tarts and pecan pie?
The sweet notes in butter tarts make them unique compared to pecan pie, which is typically loaded with crunchy nuts. While both desserts can have a similar filling base, butter tarts often feature a gooey, custard-like texture, thanks to eggs, butter, and sugar. Furthermore, traditional butter tarts may be made with raisins or currants, adding an extra layer of flavor not found in pecan pie.
How can I store leftover butter tarts?
Storing leftover butter tarts is straightforward. Allow them to cool completely before placing them in an airtight container. You can keep them at room temperature for up to two days. If you want to extend their life, refrigerate them for up to a week. Just remember to bring them back to room temperature for the best taste and texture.
Can I make butter tarts ahead of time?
Absolutely! Making butter tarts ahead of time is not only possible but advisable if you’re planning for a gathering. You can prepare the filling and pastry separately, store them in the refrigerator, and assemble them the day of your event. Additionally, fully baked tarts freeze exceptionally well and can last for about three months. Just thaw them in the fridge before serving!
By answering these questions, I hope you feel more excited and prepared to indulge in making and enjoying butter tarts. Happy baking!
Conclusion on Butter Tarts
As you savor your butter tarts, you’ll understand why this Canadian classic has a special place in so many hearts. The perfectly flaky crust paired with the rich, gooey filling creates a delightful balance that’s hard to resist. Enjoying these tarts can transform an ordinary day into a cherished memory, whether shared with friends at a gathering or savored alone with a good book. Remember, the beauty lies in their versatility; you can personalize the filling with your favorite twists. So go ahead, share your creations and relish the joy that butter tarts bring to the table!
Print
Butter Tart with Pie Crust Pastry
- Total Time: 1 hour 20 minutes
- Yield: 12 servings 1x
- Diet: Vegetarian
Description
A delicious butter tart filling encased in a flaky pie crust pastry.
Ingredients
Scale
- 1–1/4 cups all-purpose flour
- 1/2 teaspoon salt
- 1 tablespoon granulated white sugar
- 1/2 cup cold unsalted butter (cut into 1 inch pieces)
- 1/4 cup ice water
- 1/3 cup unsalted butter (softened)
- 7 oz light brown sugar
- 2 large eggs (at room temperature)
- 1 teaspoon pure vanilla extract
- 1/4 cup light coconut milk
- 6 dried prunes (cut in halves)
- 2 tablespoons shredded coconut
- 1/4 cup cashew nuts (chopped)
Instructions
- In a food processor, place the flour, salt, and sugar and process until combined. Add the butter and process until the mixture resembles coarse meal, about 15 seconds.
- Pour in the ice water, distributing equally in circles, and process until the dough just holds together when pinched. If needed, add one or two tablespoons of water.
- Turn the dough onto a work surface and gather into a ball. Flatten into a disk, cover with plastic wrap, and refrigerate for about 60 minutes.
- After chilling, roll out on a lightly floured surface and cut into 12 – 4 inch rounds. Place rounds into a 12-cup muffin tin, cover, and refrigerate for 30 minutes.
- Preheat oven to 375º F (190º C). Beat softened butter and brown sugar in an electric mixer until creamy. Beat in eggs one at a time, then add vanilla extract and stir in coconut milk.
- Place half of a dried prune in each tart shell, add a spoonful of the cashew and coconut mixture, and fill with the liquid filling.
- Bake for 15-20 minutes until pastry is browned and filling is set. Cool on a wire rack and serve at room temperature or chilled.
Notes
- Make sure the butter is very cold for a flaky crust.
- Let the tart cool completely before removing from the muffin tin.
- Prep Time: 1 hour
- Cook Time: 20 minutes
- Category: Dessert
- Method: Baking
- Cuisine: Canadian
Nutrition
- Serving Size: 1 tart
- Calories: 250
- Sugar: 18g
- Sodium: 150mg
- Fat: 15g
- Saturated Fat: 10g
- Unsaturated Fat: 3g
- Trans Fat: 0g
- Carbohydrates: 30g
- Fiber: 1g
- Protein: 3g
- Cholesterol: 50mg