Follow Me On Social Media!

Homemade Yogurt Step by Step: Creamy Bliss Awaits You!
Introduction to Homemade Yogurt Step by Step
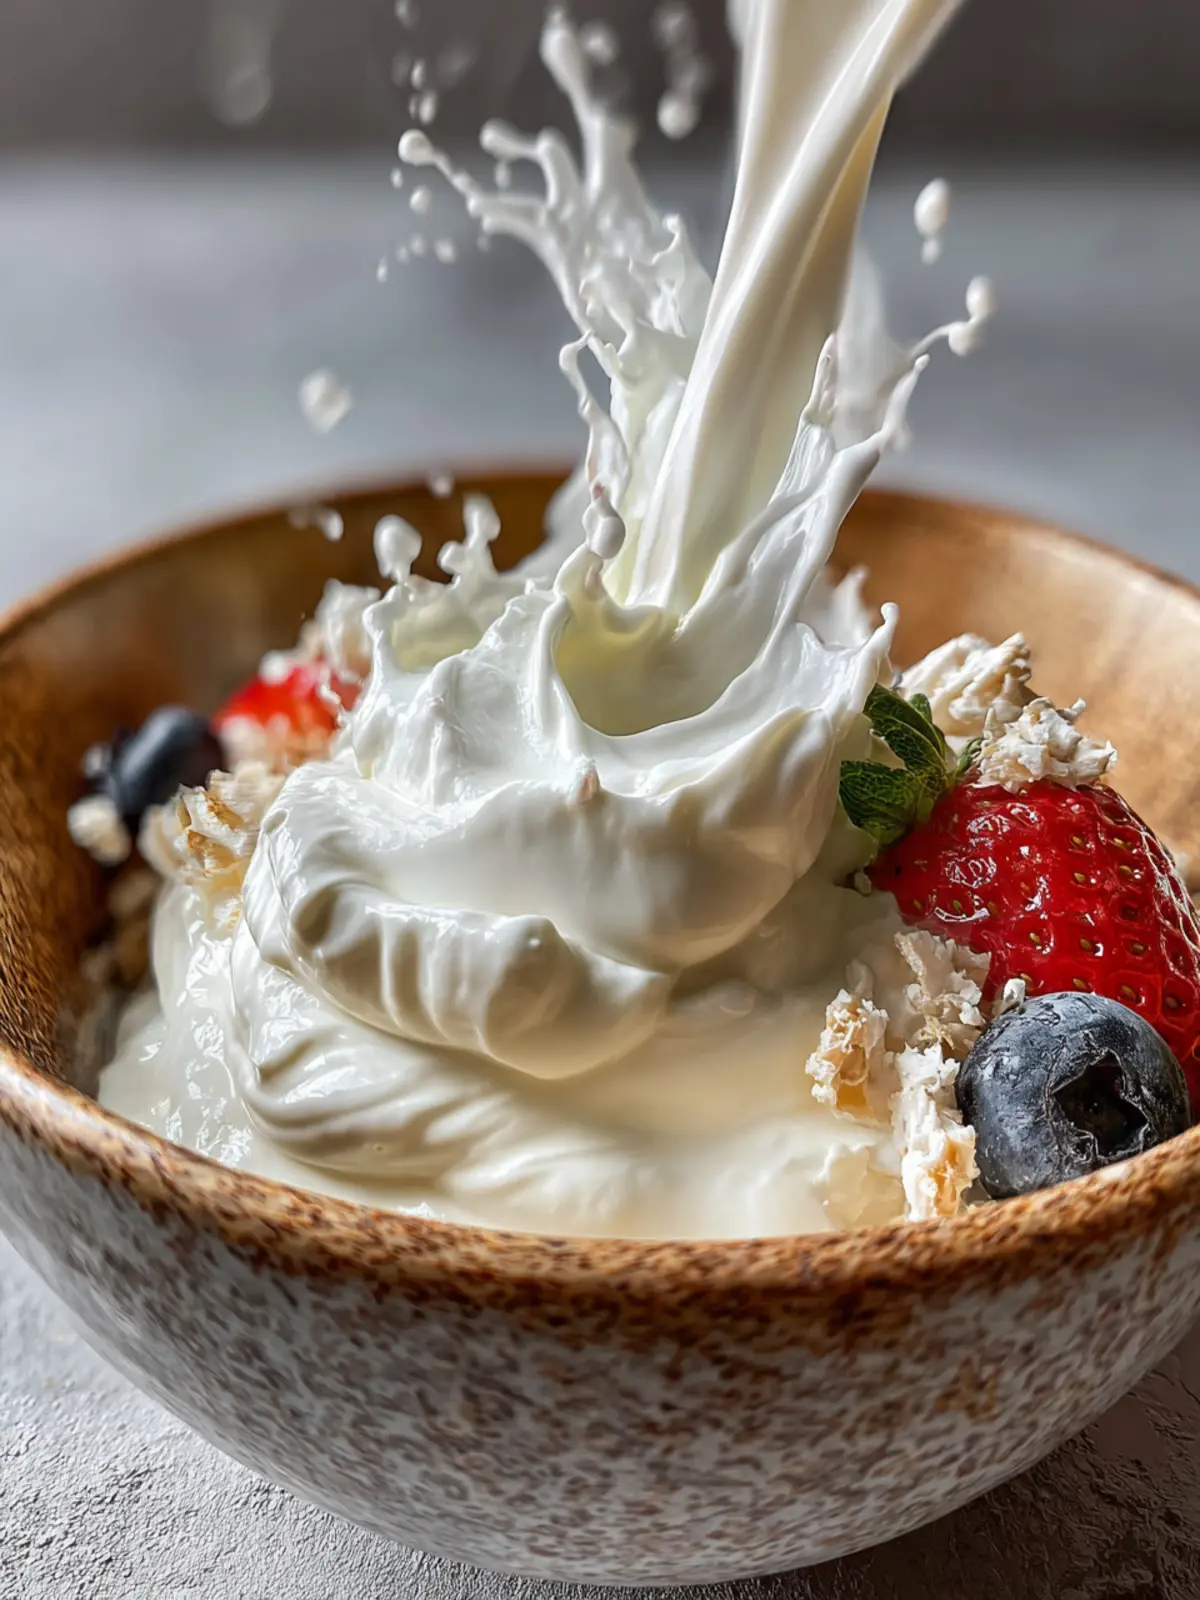
The journey of making homemade yogurt is not just about stirring ingredients; it’s an adventure of flavor and creativity that unfolds right in your kitchen. Picture this: creamy, tangy yogurt, fresh from your fridge, ready to elevate your breakfasts, smoothies, and desserts. The process of creating your own yogurt can be incredibly rewarding and actually quite simple.
Discover the Delight of Homemade Yogurt and Its Advantages
Getting into the groove of homemade yogurt step by step opens up a world of benefits that store-bought options simply can’t match. First off, you have complete control over the ingredients. Imagine making yogurt without artificial flavors or preservatives—just pure, wholesome goodness. It’s a fantastic way to incorporate probiotics into your diet while avoiding the added sugars found in many commercial yogurts.
-
Customization: Want your yogurt plain, or does the thought of adding honey, fruit, or nuts excite you? Homemade yogurt can be tailored to match your personal preferences.
-
Cost-Effective: Making yogurt at home is often a fraction of the price of buying it pre-made, especially if you’re a fan of gourmet or organic varieties.
-
Zero Waste: You can use leftover milk that might go bad otherwise, giving you an eco-friendly approach to food prep.
Personal Journey: I remember the first time I tried making yogurt. I was skeptical but excited, unsure if I could really turn milk into something as luscious as what I’d had in restaurants. To my surprise, it turned out wonderfully! Each batch got a little better, and soon I had a reliable supply that became a family favorite.
One tip I learned along my yogurt-making journey is that patience is key. The live cultures need time to work their magic, and the result is a deliciously tart and creamy treat that’s well worth the wait. So roll up your sleeves and embark on this flavorful expedition—I promise it will transform your culinary repertoire!
Key Ingredients for Homemade Yogurt
Crafting homemade yogurt step by step becomes a delightful journey with the right ingredients. Each component plays a vital role in creating that creamy, tangy goodness we all love.
Organic Milk: I adore using whole, 2%, or skim organic milk for my yogurt. Whole milk delivers a rich, luscious texture, while 2% offers a balanced creaminess, and skim provides a lighter option. Your choice depends on how indulgent you want your yogurt to be, but rest assured that any of these options will create a delicious base.
Yogurt Starter: Don’t forget this key player! A packet of live cultures is essential for your homemade yogurt. These cultures initiate the fermentation process, transforming the milk into that creamy yogurt delight. Look for starters that contain a variety of probiotics, as they add distinct flavors and health benefits.
With these ingredients on hand, you’re well on your way to enjoying fresh, homemade yogurt that feels like a luxurious treat every day!
Why You’ll Love This Homemade Yogurt Recipe
The journey to making homemade yogurt step by step is not just about the creamy, delicious end product; it’s also about the countless health benefits waiting to be enjoyed. Imagine savoring a bowl of yogurt that you crafted yourself, brimming with nutrients and tailored to your taste.
The health benefits of homemade yogurt
The health benefits of homemade yogurt are extensive, and they start with probiotics. These friendly bacteria promote gut health, boosting digestion and enhancing nutrient absorption. Additionally, homemade yogurt is lower in sugars compared to many store-bought options, giving you a healthier alternative without compromising flavor.
What’s more? Making yogurt at home lets you control the ingredients. By selecting high-quality milk, you can avoid added preservatives and artificial flavors—better for both your health and the environment. Did you know that yogurt can be a great source of protein and calcium? A single serving contains around 10 grams of protein and can provide up to 30% of your daily calcium needs, which is essential for bone health.
Moreover, you’ll not only be nourishing yourself but also fostering creativity in the kitchen. You can experiment with flavors like vanilla, honey, or fresh fruit, turning your yogurt into a personalized treat. So why not kick off your day or satisfy your cravings with something both delectable and wholesome? Don’t just take my word for it; dive into the world of homemade yogurt and experience the love yourself!
Cooking Tips for Perfect Homemade Yogurt
Creating homemade yogurt step by step can be a rewarding culinary adventure. However, achieving that rich, creamy texture requires some attention to detail, especially when it comes to maintaining the right temperature during incubation.
Optimal Temperature for Incubation
- Ideal Range: The secret to successful yogurt lies in the incubation temperature. Ideally, you want to keep your mixture between 110°F to 115°F (43°C to 46°C). This temperature allows the beneficial bacteria to thrive while preventing them from dying off.
- Oven Method: If you don’t have a yogurt maker, using your oven can work wonders. Simply turn on the oven light; it generates enough warmth to keep the temperature steady. Place your covered yogurt container inside for a gentle incubating environment.
- Thermometer Check: Consider investing in an instant-read thermometer. It’s a small tool that will go a long way in ensuring you do not overheat your yogurt, which can compromise its texture.
- Wrap it Up: If you notice temperature fluctuations in your kitchen, you can wrap the container in towels for extra insulation. This helps maintain a consistent warmth during the incubation period.
By honing in on these homemade yogurt step by step temperature tips, you’ll elevate your yogurt from average to extraordinary, giving your taste buds something to truly celebrate.
Time Breakdown for Homemade Yogurt
Making homemade yogurt is a rewarding process, allowing you to enjoy creamy, fresh yogurt tailored to your taste. Understanding the time involved can help you plan your day effectively.
Preparation Time
Gather your ingredients and equipment; this typically takes about 10-15 minutes. You’ll need milk, yogurt starter, and possibly a thermometer to monitor temperatures.
Incubation Time
The real magic happens during incubation. It usually takes around 6-12 hours for the yogurt to culture completely, depending on your desired thickness and tanginess.
Overall Time
From start to finish, expect the entire process to take about 8-14 hours. Plan ahead to enjoy your delicious homemade yogurt in all its glory!
Nutritional Facts for Homemade Yogurt
Creating homemade yogurt step by step not only brings you a delightful treat but also packs a nutritional punch. Here’s a breakdown of its key nutritional facts that make this creamy goodness a standout choice.
Calories
A typical serving of homemade yogurt contains approximately 100 calories, making it a guilt-free addition to your breakfast or snack options. This allows you to indulge without derailing your healthy eating goals.
Protein
One of the best attributes of homemade yogurt is its high protein content. Each serving generally provides about 10 grams of protein. This helps support muscle growth and keeps you feeling full longer, perfect for those busy days when you need sustained energy.
Calcium Content
Calcium is vital for strong bones and teeth, and homemade yogurt is an excellent source. A single serving usually supplies around 30% of the daily recommended calcium intake, contributing substantially to your overall dietary needs. Incorporating yogurt into your diet can help you meet those necessary calcium levels effortlessly!
These nutritional elements highlight why making homemade yogurt step by step is not just a fun project but also a smart dietary choice. Knowing exactly what’s in your yogurt means you can enjoy all its benefits guilt-free!
FAQs About Homemade Yogurt
Making homemade yogurt step by step can feel like a mysterious adventure, so it’s completely natural to have questions along the way! Let’s dive into some common queries to make your yogurt journey smoother.
Can I use non-dairy milk for yogurt?
Absolutely! If you’re looking to explore non-dairy options, almond, coconut, or soy milk can work well for making yogurt. Keep in mind that non-dairy milks usually require additional thickeners, like agar-agar or tapioca starch, to achieve that creamy consistency that’s typical of traditional yogurt. Start with a fortified non-dairy milk for better results, as the extra nutrients can help in the fermentation process.
Why is my yogurt too runny?
A runny texture can be disappointing after all your hard work. This problem often arises from two main issues: insufficient incubation time or using milk with low-fat content. Check to ensure your yogurt was incubated long enough—typically, 6 to 12 hours—depending on how tangy you want it. Higher-fat dairy options create creamier yogurt, so consider whole milk or adding powdered milk to boost the richness!
How long does homemade yogurt last?
When properly stored in an airtight container in the refrigerator, your homemade yogurt can last about 1 to 3 weeks. Always remember to trust your senses; if it looks or smells off, it’s better to err on the side of caution and discard it. Enjoying your homemade creations while they’re fresh is the best way to savor their deliciousness!
Conclusion on Homemade Yogurt
Embrace homemade yogurt and healthy eating by trying your hand at this delightful DIY project. Crafting your yogurt from scratch not only allows you to control the ingredients but also ensures that you’re consuming a product free from preservatives and artificial flavors. The process of making homemade yogurt step by step can be incredibly rewarding, as you savor the creamy texture and tangy flavor, all while knowing exactly what’s in it. Whether enjoyed plain, mixed with fruits, or drizzled with honey, your homemade yogurt will elevate many meals. So roll up your sleeves and enjoy the benefits of wholesome, nutritious yogurt crafted right in your kitchen!
Print
Homemade Yogurt
- Total Time: 6 hours
- Yield: 8 servings 1x
- Diet: Vegetarian
Description
Learn how to make homemade yogurt with just a few simple ingredients and steps!
Ingredients
Scale
- 42 ounces Organic milk (whole, 2% or skim)
- 1 packet Yogurt starter (live cultures)
Instructions
- First things first you gotta heat the milk in your pot over medium heat. Stir it every now and then so it doesn’t scorch.
- Keep going till it hits about 180°F. That’s when the proteins get ready to make the creamy texture you want.
- Pull the pot off the heat and let your milk cool down to roughly 110°F. This is where the starter cultures get happy and alive.
- Stir in your yogurt starter really well until it’s all mixed in smooth.
- Pour this combo into your nice clean container and cover it up with your lid or towel so no strangers get in.
- Place the container somewhere warm and draft-free for like 6 to 12 hours. This incubation is the slow release phase of flavor building.
- After it’s firmed up good, stick it in the fridge for a couple hours to chill before you dig in.
Notes
- Ensure your containers are clean to avoid contamination.
- The timing for incubation can vary based on your desired tartness and firmness.
- Prep Time: 15 minutes
- Cook Time: 180 minutes
- Category: Dairy
- Method: No-Cook
- Cuisine: American
Nutrition
- Serving Size: 1 cup
- Calories: 150
- Sugar: 8g
- Sodium: 100mg
- Fat: 8g
- Saturated Fat: 5g
- Unsaturated Fat: 2g
- Trans Fat: 0g
- Carbohydrates: 12g
- Fiber: 0g
- Protein: 8g
- Cholesterol: 30mg