Follow Me On Social Media!

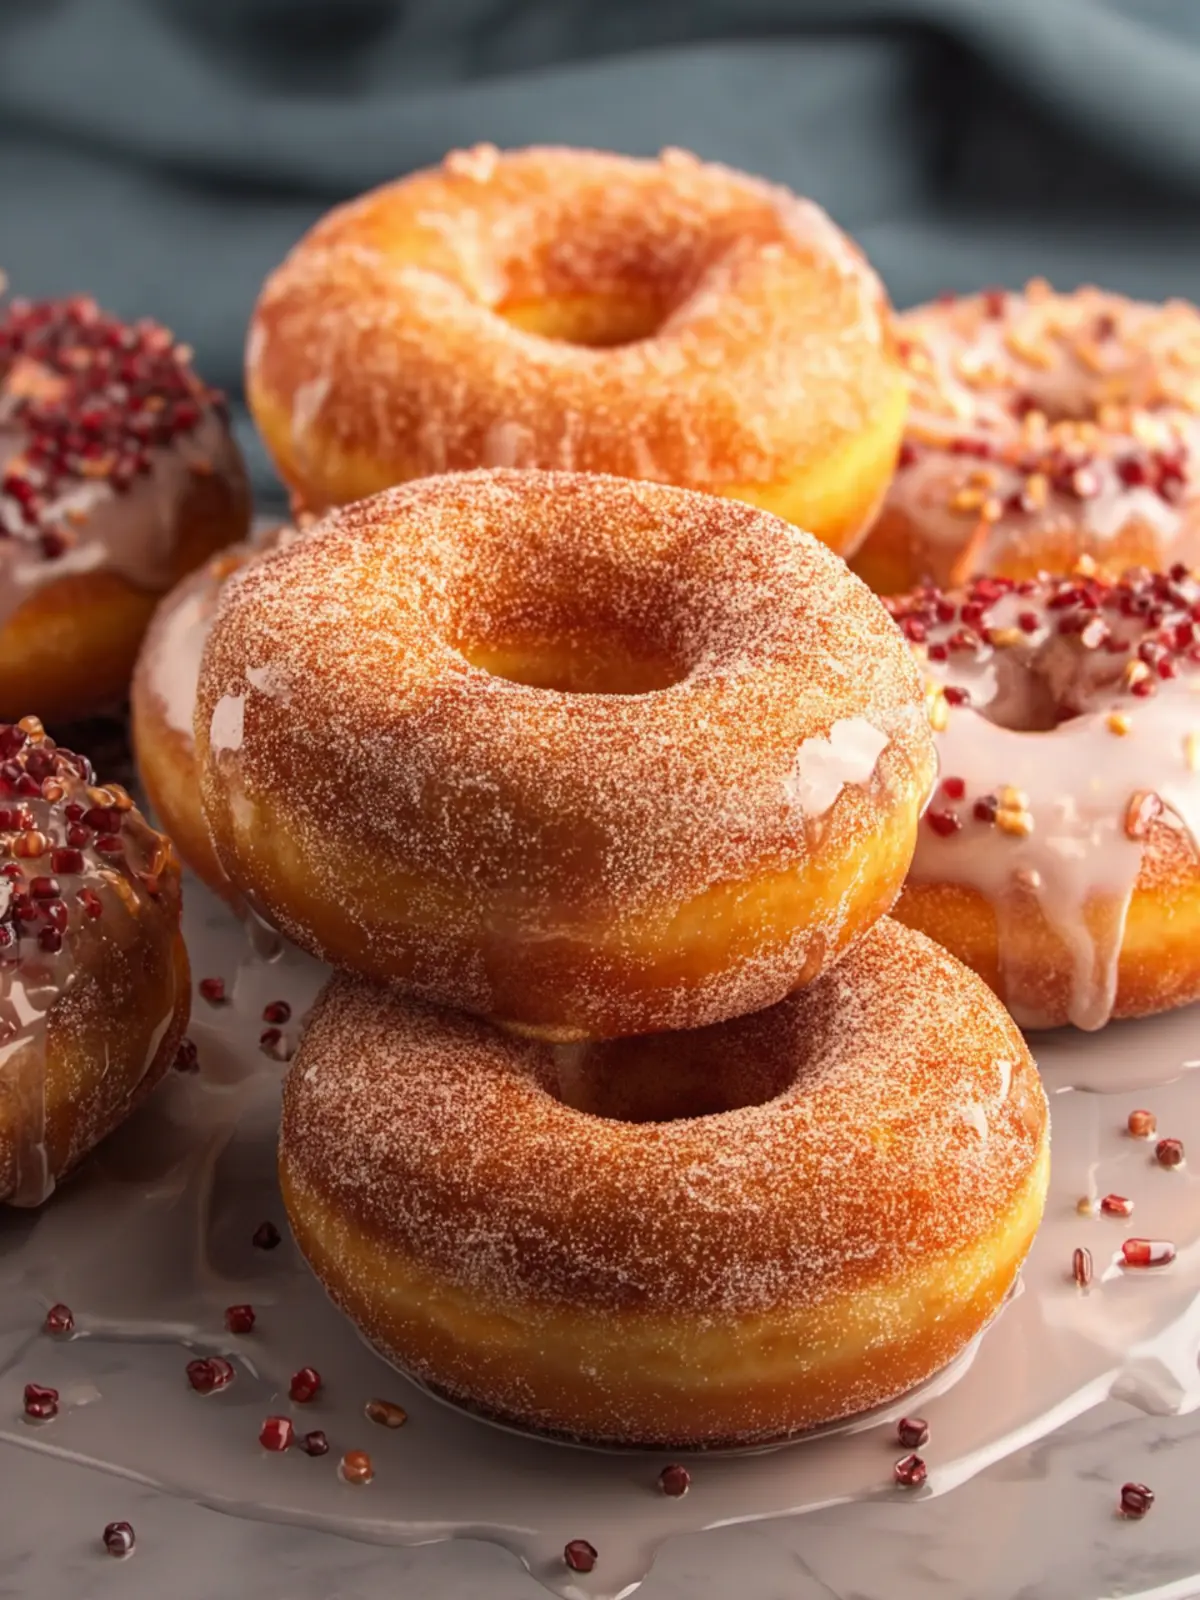
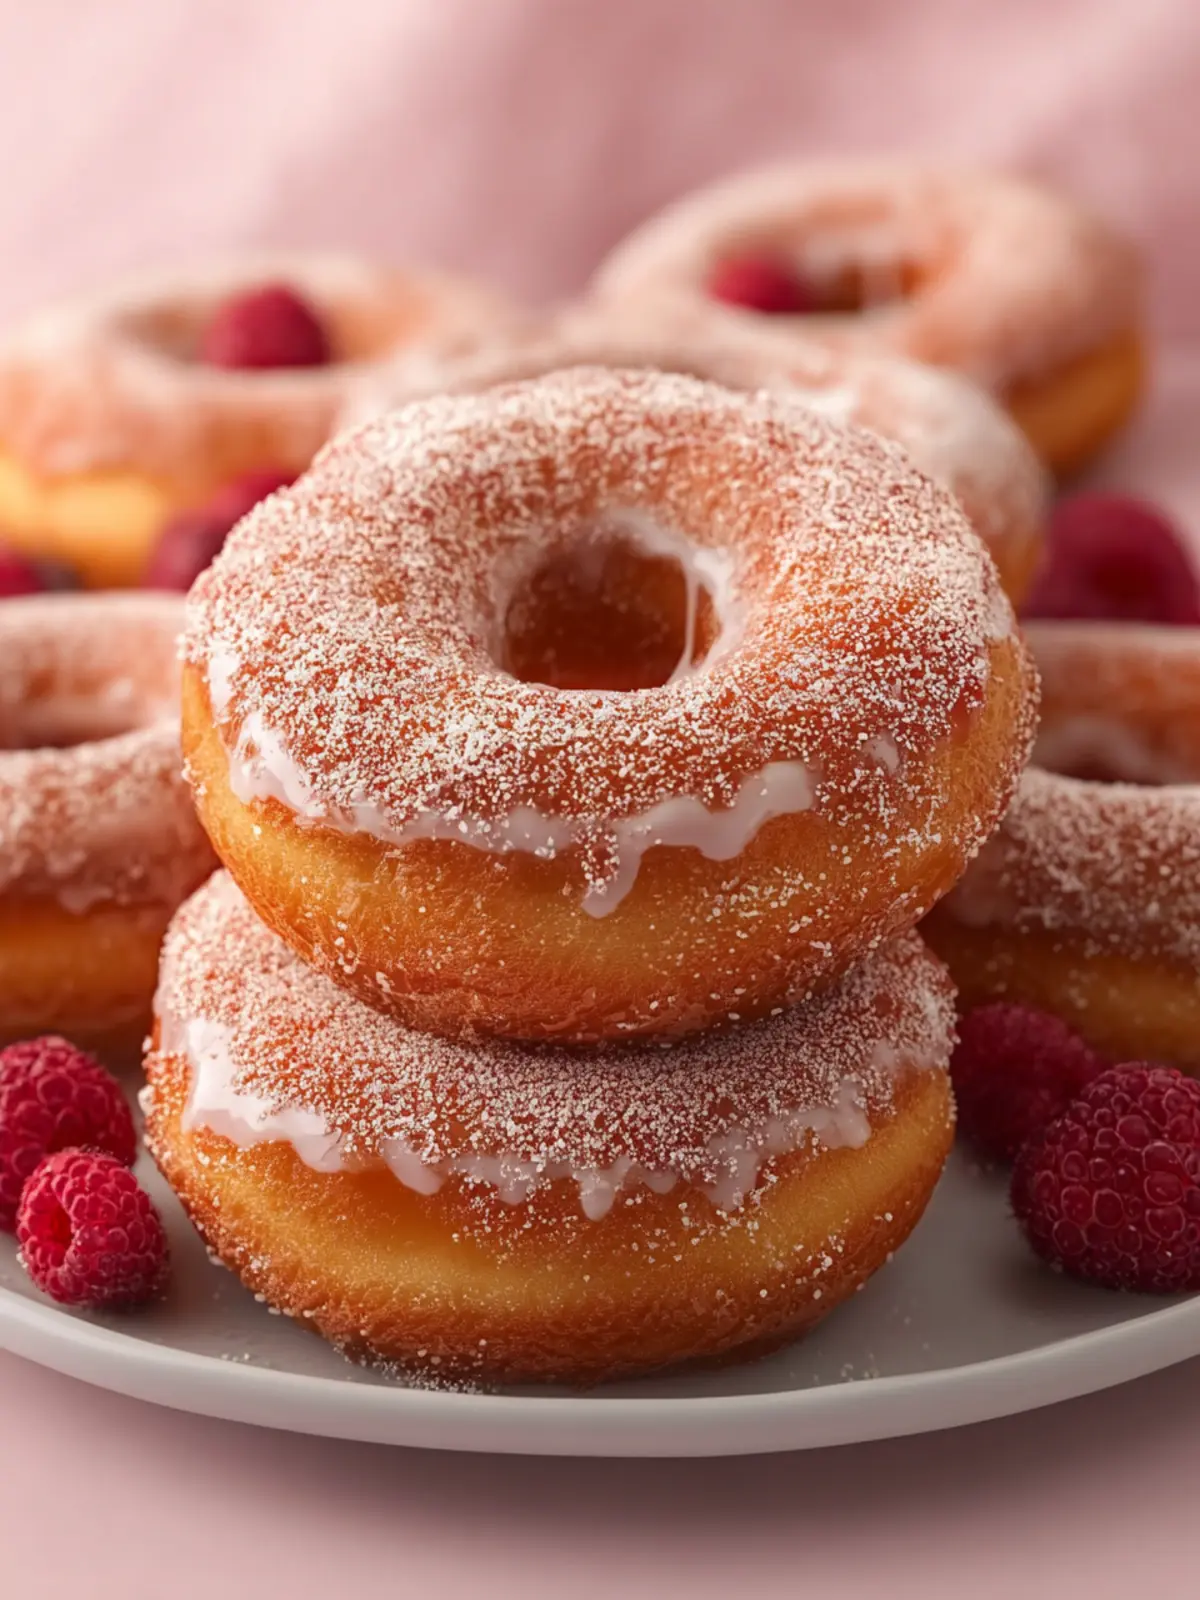
Gluten Free Yeast Donuts: Irresistibly Soft & Delicious!
Introduction to Gluten Free Yeast Donuts
Imagine sinking your teeth into a warm, fluffy donut that’s not only delicious but also gluten-free. Gluten free yeast donuts are a delightful twist on a classic treat, designed to please everyone, whether they have dietary restrictions or simply want to enjoy a lighter dessert. The process of making these donuts can be surprisingly simple yet incredibly rewarding, bringing the aroma of fresh-baked goodness into your kitchen.
When I first decided to experiment with gluten-free recipes, I was nervous about how a yeast donut would turn out. Would it rise? Would it have that signature fluffy texture? To my delight, the answer was a resounding yes! These donuts are light, airy, and have that perfect chewiness that every donut lover craves. The gluten-free flour mix used ensures a nice structure while allowing the yeast to do its job — creating irresistible donuts that won’t leave you feeling heavy.
Making gluten free yeast donuts is not just about fulfilling dietary needs; it’s about enjoying the process. There’s something therapeutic in mixing, kneading, and watching dough rise. Plus, the customization options are countless! From classic powdered sugar to decadent chocolate glaze or even unique flavors like lavender or matcha, the choice is yours.
So why are these donuts truly irresistible? Here are a few reasons to inspire you to get in the kitchen:
- Texture: Gluten free yeast donuts are incredibly soft and fluffy, making them a perfect canvas for toppings.
- Flavor: With thoughtful ingredient choices, these donuts can be infused with a variety of flavors that can elevate your dessert game.
- Versatility: They can cater to various dietary preferences and allergies, allowing you to share them with friends and family without worry.
In the following recipe, I’ll guide you through making your own gluten free yeast donuts, from start to finish—let’s dive in!
Key Ingredients for Gluten Free Yeast Donuts
Creating gluten free yeast donuts is not just about the cooking; it’s about assembling the right elements that come together to form something truly delightful. Here’s what you’ll need to make these light and fluffy treats.
-
Gluten-Free Flour Blend: A quality gluten-free flour blend is crucial for achieving the perfect texture. Look for a blend that contains xanthan gum for improved elasticity and rise.
-
Yeast: Active dry yeast is the star of the show, helping our donuts to rise beautifully. Make sure your yeast is fresh for the best results—expired yeast can lead to dense donuts.
-
Dairy: Whole milk or almond milk adds richness and flavor. If you prefer a dairy-free option, almond milk fits perfectly while keeping the donuts tender.
-
Sweetener: Granulated sugar and a touch of vanilla extract create a lovely sweetness, balancing the flavors without overwhelming them.
-
Eggs: Eggs bind the ingredients together while also contributing to a light, airy structure. If you need a vegan option, consider using a flaxseed egg.
-
Butter or Oil: Using melted butter or a neutral oil ensures moisture, making the donuts rich and decadent. Butter lends a delightful flavor, while oil can make them lighter.
These ingredients combine to create gluten free yeast donuts that are not just enjoyable but memorable, perfect for a special brunch or an everyday treat.
Why You’ll Love These Gluten Free Yeast Donuts
Imagine sinking your teeth into a warm, fluffy donut that’s not only delicious but also gluten-free. That’s what you get with these gluten free yeast donuts — a delightful treat that brings back memories of your favorite bakery, but without the gluten. Perfect for brunch or a cozy weekend, these donuts are sure to impress friends and family.
The Comfort of Yeast Dough
There’s something magical about yeast donuts. The way they rise creates a light, airy texture that’s hard to resist. Unlike cake donuts, these gems have a chewiness that lends itself beautifully to a fresh glaze or dusting of powdered sugar. What’s more, the dough is easy to work with, and the process of making them becomes an enjoyable ritual rather than a chore.
Simple Ingredients, Big Flavor
You’ll love that this recipe uses straightforward ingredients you likely have in your pantry. From the comforting warmth of cinnamon to the sweetness of sugar, each component plays a role in enhancing the overall flavor. Many gluten-free options can leave you feeling deprived, but these will make you feel like you’re indulging without any guilt.
A Sweet Tradition You Can Share
Whether it’s a casual Saturday brunch or a special celebration, these gluten free yeast donuts provide that perfect touch. Everyone can enjoy them, regardless of dietary restrictions, making them a fantastic choice for gatherings. So, roll up your sleeves and prepare to create some sweet memories!
Tips for Making Perfect Gluten Free Yeast Donuts
Creating gluten free yeast donuts that are perfectly fluffy and delicious is a rewarding endeavor that brings smiles to friends and family alike. The secret often lies in a few essential tips that elevate your baking game.
Choose the Right Flour Blend
Using a high-quality gluten-free flour blend is crucial. Look for ones that contain xanthan gum, as it helps mimic the elasticity of traditional wheat flour. This key ingredient ensures your donuts rise beautifully, giving them that dreamy texture.
Let the Dough Rise
Patience is your friend! Allow your dough to rise in a warm environment until it has doubled in size. This step is vital for achieving that airy, light quality that makes gluten free yeast donuts so irresistible. A warm kitchen or a preheated oven turned off can create the perfect rising atmosphere.
Don’t Skip the Proofing
Before frying, let the shaped donuts proof again for about 30 minutes. This second rise is what will grant them a pillowy softness and help them maintain their shape during cooking.
Fry at the Right Temperature
Ensure your oil is at the correct temperature (around 350°F) before frying. Too hot, and the outside will brown too quickly while the inside remains doughy. Too cool, and your donuts will absorb excess oil, becoming greasy rather than fluffy.
Master these tips, and you’ll be baking gluten free yeast donuts that everyone will crave!
Time Details for Gluten Free Yeast Donuts
Creating the perfect gluten free yeast donuts at home not only satiates your sweet tooth but also fills your kitchen with wonderful aromas. Here’s a detailed breakdown of the time you’ll need to dedicate to this delicious endeavor.
Preparation Time
Getting started on your donuts is quick; you’ll need about 30 minutes to gather your ingredients, mix the dough, and prep for the rise.
Rising Time
Patience is key here. Allow your dough to rise for approximately 1 hour. This crucial step helps to achieve that fluffy texture that makes yeast donuts so special.
Frying Time
When you’re ready to cook, it only takes about 3-4 minutes per donut to achieve golden perfection. Just make sure your oil is preheated for that delightful crispiness.
These timeframes will have you enjoying warm, delicious gluten free yeast donuts in no time!

Nutritional Information for Gluten Free Yeast Donuts
When you indulge in gluten free yeast donuts, it’s exciting to savor each fluffy bite while knowing you’ve made a healthier choice. Let’s break down the nutritional elements of these delightful treats to keep things transparent and informative.
Calories
Each donut contains approximately 180 calories, making it a satisfying yet light option for your sweet cravings.
Protein
You’ll find around 3 grams of protein in each donut. While they may not be a hefty source of protein, they can be a delightful mid-morning snack.
Sodium
Each gluten free yeast donut has about 210 milligrams of sodium. This is a moderate amount, allowing you to enjoy them without overdoing the salt.
Enjoy your baking adventure and feel good about what you’re eating!
FAQs About Gluten Free Yeast Donuts
Baking gluten free yeast donuts can feel challenging, especially if you’re new to gluten-free baking. Understanding the nuances can make the process smoother and more enjoyable. Let’s dive into some commonly asked questions to help you create the best possible donuts!
Can I make these donuts dairy-free?
Absolutely! To make your gluten free yeast donuts dairy-free, you can easily swap out any dairy ingredients. Use almond milk or oat milk instead of regular milk, and replace butter with coconut oil or a dairy-free butter alternative. This way, you can enjoy the same fluffy texture and flavor without any dairy!
How should I store leftover donuts?
Storing your gluten free yeast donuts properly ensures they stay fresh and delicious. Place the donuts in an airtight container at room temperature for up to 2 days. If you want to keep them longer, consider freezing them. Wrap each donut individually in plastic wrap and then place them in a freezer bag. They can last up to two months. When you’re ready, simply thaw at room temperature for a treat as good as fresh!
What can I substitute for the gluten-free flour?
If you find yourself short on a specific type of gluten-free flour, don’t worry! A good all-purpose gluten-free flour blend should work well in this recipe. Look for blends that contain a mix of rice flour, tapioca flour, and xanthan gum for the best results. Alternatively, you can also experiment with almond flour, but keep in mind that this may alter the texture slightly.
With these insights, you’re well on your way to mastering gluten free yeast donuts that everyone will love! Happy baking!
Conclusion on Gluten Free Yeast Donuts
Creating delicious gluten free yeast donuts in your kitchen is not just a culinary task; it’s a joyful experience that brings the warmth of home baking right to your table. With a light and fluffy texture, these donuts are perfect for sharing with friends or enjoying on a slow Sunday morning. By using quality ingredients and following the simple steps we shared, you can indulge in a sweet treat that satisfies your cravings while sticking to your dietary needs. Remember, the joy of these donuts lies not only in their flavor but also in the memories you create while making them. Enjoy every bite!
Print
Gluten-Free Donuts
- Total Time: 2 hours 45 minutes
- Yield: 12 donuts 1x
- Diet: Gluten-Free
Description
Delicious gluten-free donuts that are light, fluffy, and perfect for any occasion.
Ingredients
Scale
- 2½ cups gluten-free flour with xanthan gum (We recommend Pillsbury or Better Batter Brand)
- ¼ cup granulated sugar
- 2 tsp baking powder
- 2 tsp instant yeast (also called rapid rise yeast)
- ½ tsp cream of tartar
- ½ tsp ground nutmeg
- ¼ tsp salt
- ¾ cup whole milk (room temperature or lukewarm)
- 1 large egg
- ¼ cup unsalted butter (melted but not hot)
- vegetable oil (for frying)
- 2 cups confectioners sugar
- ⅓ cup whole milk
- ⅓ cup granulated sugar
- 1 tsp ground cinnamon
Instructions
- In a large bowl, combine gluten-free flour, granulated sugar, baking powder, instant yeast, cream of tartar, nutmeg and salt. Stir together until well combined.
- Add milk and egg to the flour mixture. Use an electric mixer with a dough hook and knead on low to medium speed for 5 minutes. Use a spatula to blend any dry ingredients that have settled at the bottom of the bowl. Keep kneading with the dough hook for the full 5 minutes, and the dough will start to come together and smooth out.
- Knead the butter in, using the dough hook on low-medium speed, until it is well combined (about 1 minute).
- Spray a medium bowl with non-stick cooking spray and place the dough inside. Cover the bowl with food-safe plastic wrap and put it in the fridge for at least 2 hours. This can also sit overnight in the fridge. Gluten-free flour needs this time to hydrate, so don’t skip this cooled proofing time.
- Line a large baking sheet with parchment paper. Set aside for now.
- Lightly flour your work surface, your rolling pin, and your donut cutter with gluten-free flour, then place your dough on the work surface. Roll the dough out to about ¾” thickness, then use a donut cutter to cut out the donut shapes. The size of the donut cutter I used is 3” in diameter.
- Gently place the raw donuts onto the prepared baking sheet. Space the donuts at least 2 inches from each other. Wrap the baking sheet well with food-safe plastic wrap, then place it in a warm area of your kitchen to rise for 1½ to 2 hours (until about 50% larger in size).
- Heat oil in a pot that’s deep enough to have at least 2 inches in it without spilling over the edges. Oil should be heated to a temperature between 320°F and 330°F (160–166°C). Use a candy thermometer to measure the temperature of the oil.
- While your oil is heating up, prepare your workspace by lining a wire rack with paper towels (to soak up oil after removing the donut from the pot). You’ll also need metal tongs for turning your donuts over while frying, plus a slotted spoon for removing the donut from the oil and placing it on the paper towel to cool.
- If this is your first time deep-frying donuts, start with frying one donut at a time. This will give you a better idea of how long to keep your donut in the oil. At a temperature of 330°F (165℃), cook the donuts for less than a minute on each side.
- Use the metal tongs to flip donuts over in the oil during frying.
- Use a slotted spoon to scoop donuts out of the oil and place on the paper towel lined wire rack.
- Let the donuts cool slightly (about 10 minutes) before adding toppings.
- For glazed donuts, stir the confectioner’s sugar and milk together until smooth. Dip donuts as desired (either fully dipping them or just dipping the tops). Add gel food coloring if you like.
- For cinnamon-sugar donuts, stir the sugar and cinnamon together. Dip both sides of the warm donut into the mixture and gently shake off any excess. This needs to be done while the donuts are warm, or the sugar mixture won’t stick.
Notes
- These donuts are best enjoyed fresh, but they can be stored in an airtight container for up to 2 days.
- Make sure to measure the flour properly to avoid dense donuts.
- Prep Time: 30 minutes
- Cook Time: 15 minutes
- Category: Dessert
- Method: Frying
- Cuisine: American
Nutrition
- Serving Size: 1 donut
- Calories: 210
- Sugar: 10g
- Sodium: 150mg
- Fat: 9g
- Saturated Fat: 5g
- Unsaturated Fat: 3g
- Trans Fat: 0g
- Carbohydrates: 30g
- Fiber: 1g
- Protein: 2g
- Cholesterol: 30mg