Follow Me On Social Media!


Brownie Pudding Cookies: Irresistibly Gooey, Best Treat Ever
Introduction to Brownie Pudding Cookies
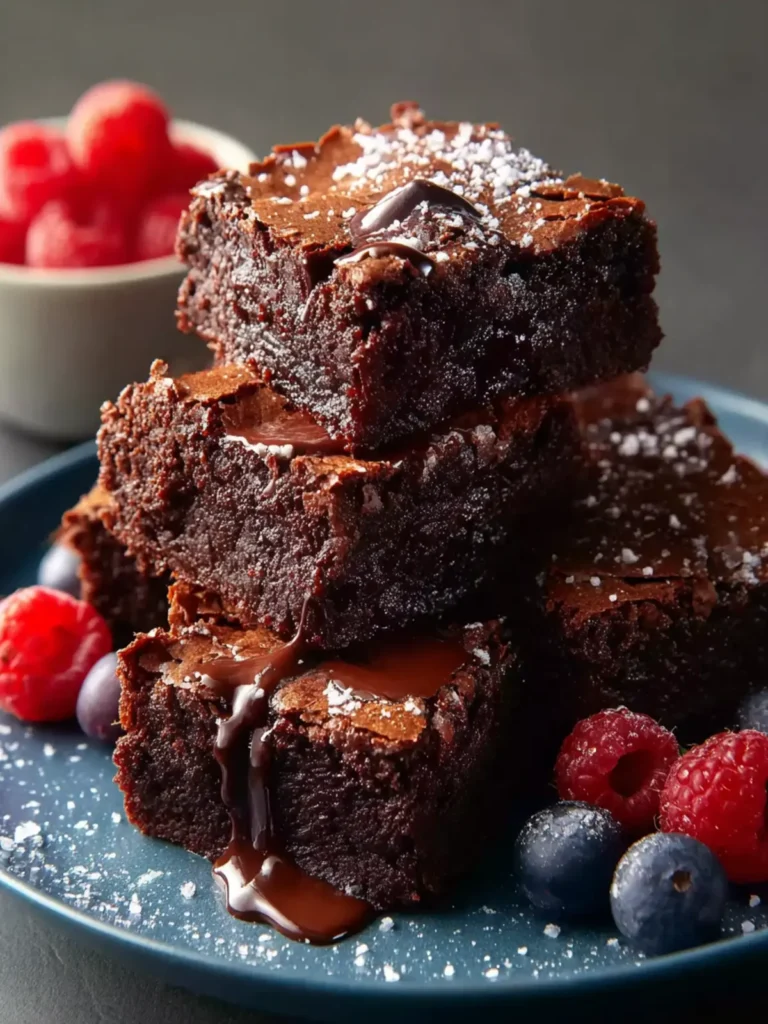
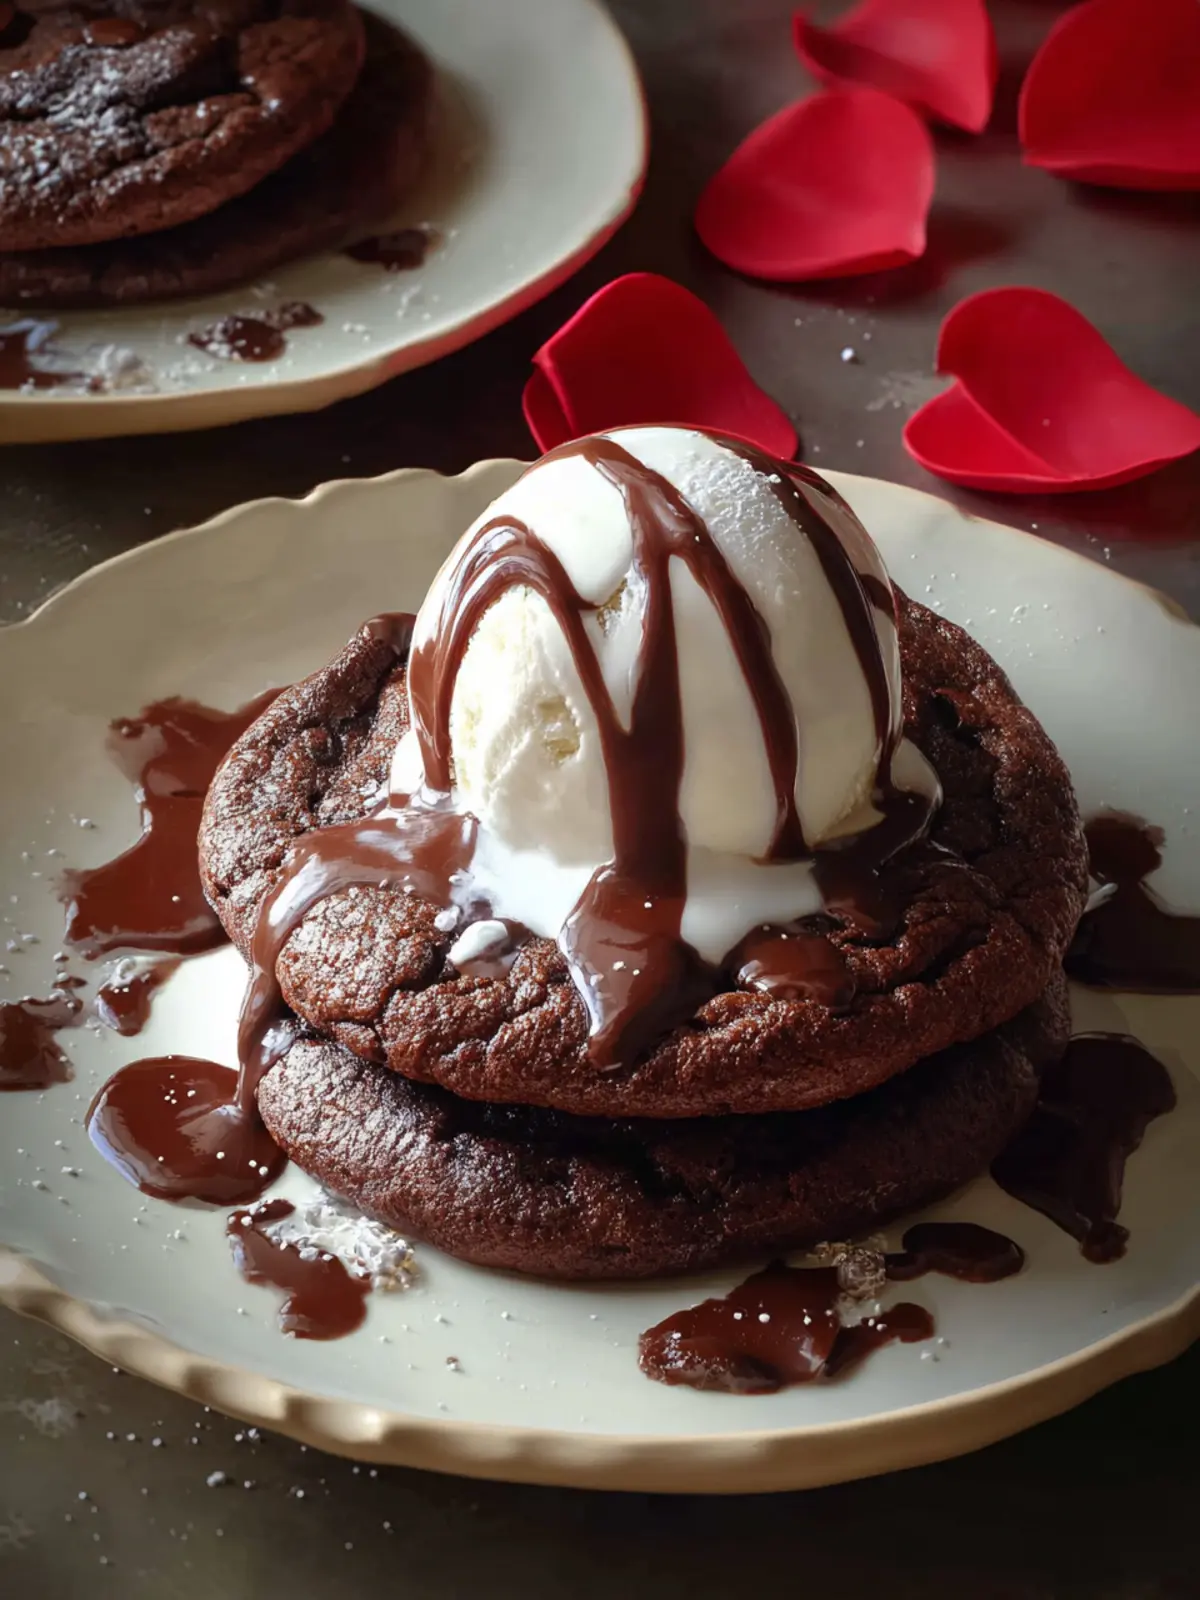
If there’s one dessert that tantalizes both the taste buds and the heart, it’s Brownie Pudding Cookies. Picture this: a chewy cookie with all the rich, chocolatey goodness of a brownie, but with a creamy, molten center that oozes delight with every bite. They blend the best of both worlds, creating a treat that’s almost too irresistible to share.
What makes these Brownie Pudding Cookies truly special is their unique texture. Unlike traditional cookies, which tend to be crisp and fluffy, these cookies hide a luscious interior reminiscent of the finest brownies. As you take a bite, you’ll experience the outer chewy layer that causes an instant craving, then dive into the pudding-like center that feels almost decadent. That contrast in textures is what keeps your palate intrigued—a warm, moist bite that dances with chocolate flavor.
The ingredients in this recipe are straightforward yet essential. Here’s what you’ll need to whip up your own batch of these delightful cookies:
- Butter: The butter adds that essential richness to the cookie dough, making each bite melt in your mouth.
- Brown Sugar: This not only sweetens the cookies but also contributes to the delightful chewiness, enhancing that beloved brownie texture.
- Granulated Sugar: This gives a nice contrast to the brown sugar, ensuring your cookies are the perfect balance of sweetness.
- Eggs: They’ll help bind the ingredients together while also creating that wonderfully fudgy center.
- All-Purpose Flour: The base of the dough, it provides structure while complementing the richness of the other ingredients.
- Cocoa Powder: This ingredient brings the deep chocolate flavor that puts the “brownie” in Brownie Pudding Cookies.
- Baking Powder: This helps the cookies rise just enough to create a fluffy outer layer.
- Vanilla Extract: A splash of vanilla enhances the overall flavor and adds complexity.
With each ingredient playing a pivotal role, you’ll find that the magic of Brownie Pudding Cookies lies in their simplicity. Stay tuned for the full recipe where we bring this indulgence to life!
Key Ingredients for Brownie Pudding Cookies
Creating Brownie Pudding Cookies is like crafting a little piece of chocolate heaven in your kitchen. Each ingredient plays a crucial role in delivering that rich, gooey texture and mouthwatering flavor that draws you back for seconds. Here’s a closer look at what makes these cookies truly special.
-
Chocolate: The star of the show! I prefer using high-quality semi-sweet chocolate for a deep, rich flavor. If you’re in a pinch, chocolate chips can work, but melt down some of the rich chocolate first for that fudgy base.
-
Butter: A key to that decadent chewiness, butter brings in a richness that makes each bite melt in your mouth. Be sure to use unsalted butter so you can control the sweetness of your cookie dough.
-
Sugar: Combining granulated sugar for sweetness and brown sugar for moisture gives our Brownie Pudding Cookies the perfect balance of flavors and textures.
-
Eggs: Eggs are essential for binding the ingredients and adding moisture. For the best results, use room temperature eggs—they incorporate more easily and give the cookies a fluffy texture.
-
Flour: All-purpose flour keeps these cookies from being too dense, striking just the right balance between chewy and cakey.
-
Cocoa Powder: Unsweetened cocoa powder adds an extra layer of chocolate flavor, intensifying the deliciousness of these cookies.
-
Vanilla Extract: A splash of vanilla extract rounds out the flavors wonderfully, bringing everything together in perfect harmony.
With these ingredients in hand, you’re ready to whip up a batch of Brownie Pudding Cookies that will impress anyone lucky enough to try them!
Why You’ll Love These Brownie Pudding Cookies
Imagine sinking your teeth into a cookie that offers the rich, fudgy delight of brownies, combined with a soft, gooey pudding-like texture. That’s exactly what you’ll experience with these Brownie Pudding Cookies. They provide the perfect indulgence for anyone who finds joy in dessert exploration.
-
Decadent Texture: The inner softness mimics that of a warm brownie, while the slightly crisp exterior offers a welcome contrast. Each bite is a delightful journey of textures that elevates these cookies from ordinary to unforgettable.
-
Quick and Easy: Perfect for any weeknight craving, these cookies come together in no time. With minimal prep and bake time, you can enjoy your sweet fix without spending hours in the kitchen.
-
Versatile Flavor: Whether you pair them with a scoop of vanilla ice cream to create a heavenly dessert or enjoy them on their own, the Brownie Pudding Cookies are adaptable to fit every mood.
As you make these cookies, keep in mind the simple yet delightfully rich ingredients that contribute to the overall experience. They are not just a treat; they’re a way to infuse joy into your everyday routine. Enjoy baking, and make these cookies a staple in your dessert lineup!
Tips for Making Perfect Brownie Pudding Cookies
Creating Brownie Pudding Cookies isn’t just about following a recipe—it’s an experience. The aroma of baking chocolate fills your kitchen, transporting you back to joyous childhood memories of sneaking bites of batter. With a few insider tips, you’ll elevate these cookies from good to unforgettable.
Choose Quality Chocolate
The heart of any great brownie cookie is the chocolate. Opt for high-quality dark chocolate with at least 60% cocoa. This will not only enhance the flavor but also provide a rich, chewy texture that sets your cookies apart.
Measure Accurately
Precision is crucial! Use a kitchen scale for measuring your flour and chocolate. Too much flour can lead to a dry cookie, while too little can cause them to spread too much during baking.
Don’t Overmix
When blending the wet and dry ingredients, mix until just combined. Overmixing can introduce too much air, leading to a cakier texture. You want that perfect fudge-like center, not cake.
Chill the Dough
For perfectly shaped Brownie Pudding Cookies, chill your dough for at least 30 minutes before baking. This step helps the cookies hold their shape and results in a deliciously dense texture.
Keep an Eye on Baking Time
Every oven is slightly different, so start checking your cookies a couple of minutes before the recommended time. You want a slightly underbaked center for that gooey finish.
With these tips in mind, your Brownie Pudding Cookies are bound to impress everyone at the table!
Time Details for Brownie Pudding Cookies
Crafting the perfect Brownie Pudding Cookies isn’t just about the ingredients; it’s also about taking the right amount of time to ensure everything is just right. Here’s a breakdown of the time involved in bringing these delicious cookies to life:
Preparation time
Getting everything ready takes about 15 minutes. This includes measuring out your ingredients and mixing up that rich, chocolatey dough.
Refrigeration time
To enhance the flavors and improve the texture, allow the dough to chill for about 30 minutes. This patience pays off in the end!
Baking time
Once your dough is chilled, pop those cookies into the oven for 12-15 minutes. Keep an eye out for that perfect gooey texture.
Total time
From start to finish, you’ll be looking at approximately 1 hour. Just think: in just an hour, you could have these decadent cookies ready to impress your friends or satisfy that late-night craving!
Nutritional Information for Brownie Pudding Cookies
Indulging in Brownie Pudding Cookies is a treat that charms both your sweet tooth and your nutrition curiosity. As you savor each bite, you’ll appreciate just how this delightful recipe balances flavor and indulgence.
Calories
Each cookie packs about 150 calories, making it a perfect guilt-free dessert option for shared experiences or cozy evenings at home.
Carbohydrates
These Brownie Pudding Cookies contain approximately 22 grams of carbohydrates. While they still satisfy your cravings, their comforting texture doesn’t leave you feeling weighed down.
Fat Content
With around 7 grams of fat per cookie, these treats include a blend of rich ingredients that enhance flavor without going overboard, allowing you to indulge mindfully.
Enjoy every bite, knowing that you’re treating yourself to something truly special!
FAQs about Brownie Pudding Cookies
Creating Brownie Pudding Cookies is a delightful experience that leaves you with a sweet treat worth sharing. However, it’s natural to have questions while navigating this decadent recipe. Here’s a handy guide to address some of the most common queries.
Can I freeze the cookie dough?
Absolutely! Freezing the dough is a great way to prepare ahead of time. Simply scoop out portions of the cookie dough and place them on a baking sheet. Freeze until firm, then transfer them to an airtight container or zip-top bag. They can be stored for up to three months. When you’re ready to bake, just add a couple of extra minutes to the baking time.
How do I ensure the center stays molten?
To achieve that satisfyingly gooey center in your Brownie Pudding Cookies, it’s essential to monitor baking time closely. Bake them just until the edges are set and the centers are still soft; typically around 10-12 minutes. Keep in mind that they will continue to cook slightly after being removed from the oven, so err on the side of underbaking.
What should I do if my ganache is too thin?
If you find that your ganache is thinner than you’d like for drizzling on your Brownie Pudding Cookies, don’t fret! Simply place it in the refrigerator for about 15-30 minutes to help it thicken. Alternatively, you can gently heat it by adding more chocolate; stir until melted and smooth. This should help you achieve that perfect drizzling consistency!
With these tips in hand, you’re well-equipped to whip up some amazing Brownie Pudding Cookies. Happy baking!
Conclusion on Brownie Pudding Cookies
In summary, Brownie Pudding Cookies beautifully merge the love of brownies with the delightful chewiness of cookies, creating a treat that’s both comforting and indulgent. The secret to their incredible texture lies in the careful balance of ingredients, especially the luscious chocolate and melted butter that adds richness. These cookies offer an experience that’s more than just a dessert; they’re a warm hug in your hand, perfect for sharing with friends or savoring alone. So whether you’re surprising your loved ones or indulging after a long day, these cookies are sure to satisfy. Get ready to embrace the joy of baking!
Print
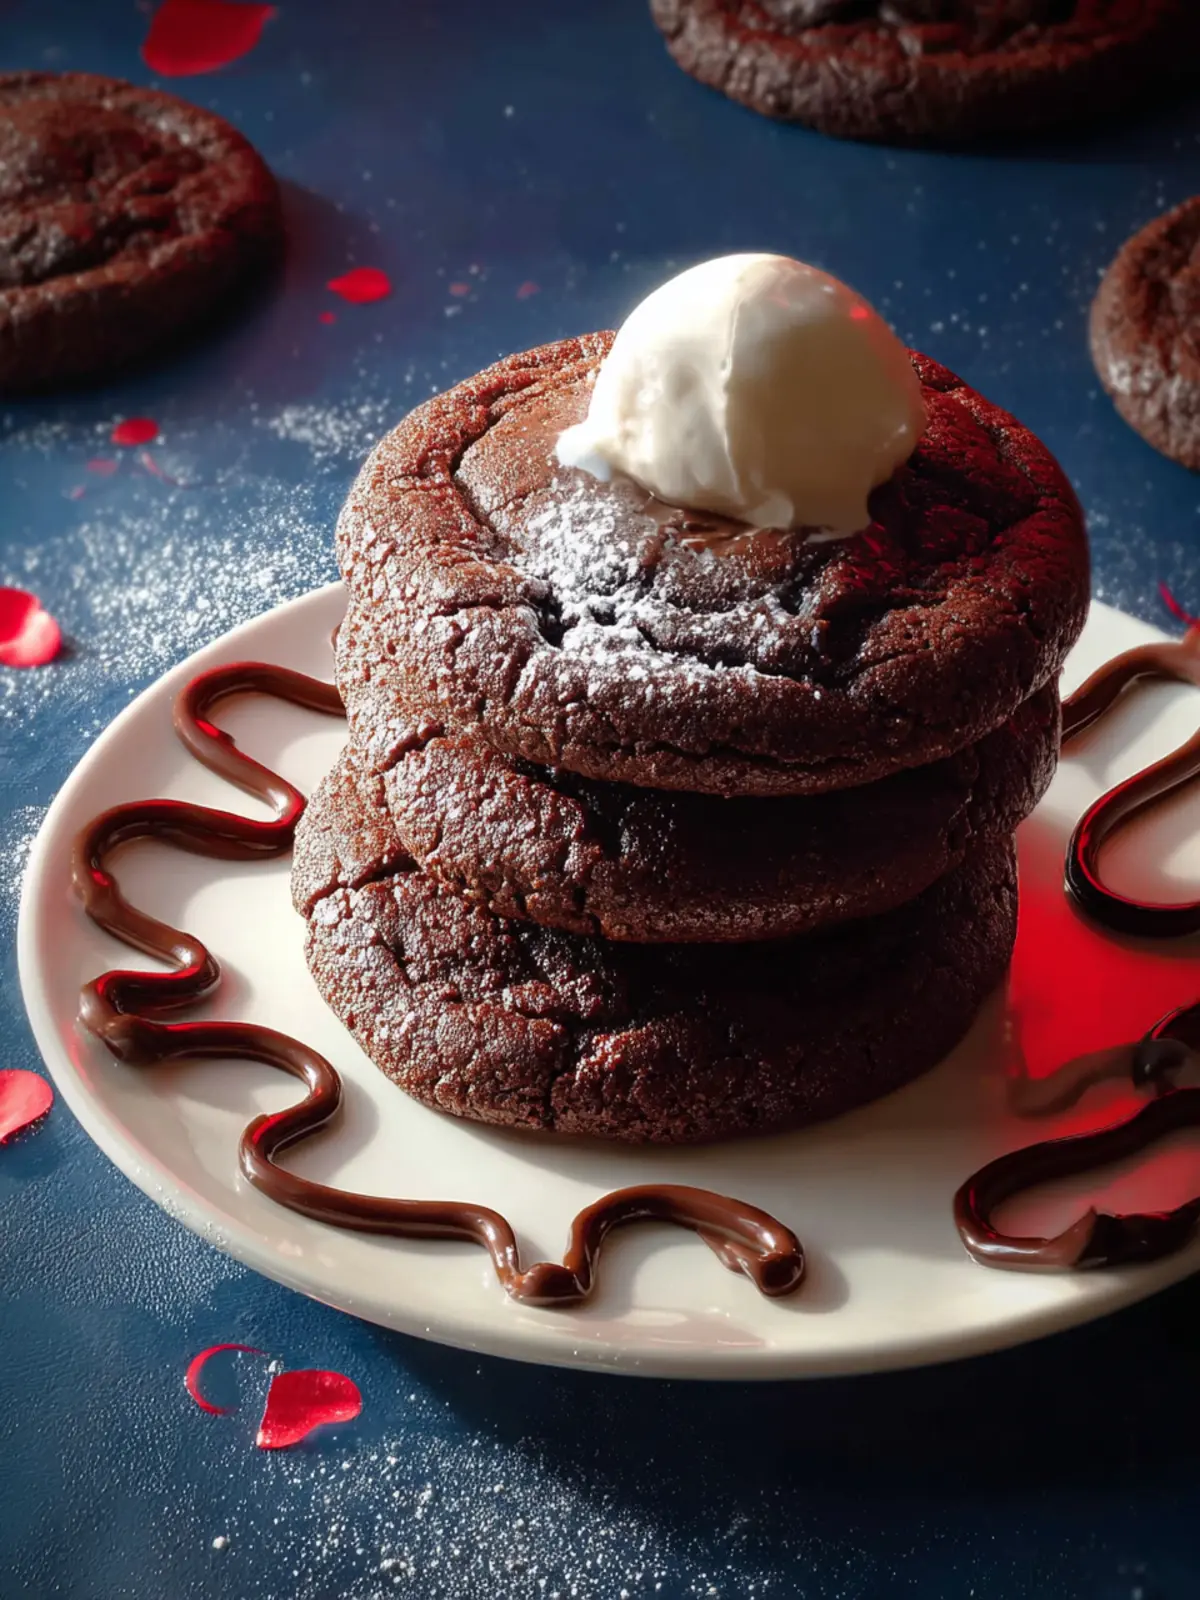
Molten Chocolate Cookies
- Total Time: 1 hour 46 minutes
- Yield: 22 cookies 1x
- Diet: Vegetarian
Description
These molten chocolate cookies feature a gooey ganache center that pairs beautifully with vanilla ice cream.
Ingredients
Scale
- 1 cup (6oz) semi-sweet or bittersweet chocolate chips
- 1/3 cup heavy cream
- 1 cup (226g) unsalted butter
- 2/3 cup (60g) cocoa powder
- 1 cup (6oz) semi-sweet or bittersweet chocolate chips
- 2 cups (260g) all-purpose flour
- 1/2 teaspoon baking soda
- 1 cup (200g) white sugar
- 1/2 cup (104g) lightly packed light brown sugar
- 2 teaspoons pure vanilla extract
- 1/2 teaspoon Diamond Crystal Kosher Salt
- 2 large eggs
Instructions
- The molten center is a ganache that gets melty. To make it, combine the heavy cream and 1 cup chocolate chips in a microwave safe bowl and heat in the microwave for 30 seconds then leave the bowl in the microwave for 2-3 minutes with the door closed to let the residual heat help gently melt the chocolate, remove the bowl from the microwave and stir until melted. If the mixture isn’t fully melted, repeat this process. If you don’t have a microwave, melt the chocolate and heavy cream in a double boiler on the stove.
- Cover the bowl with plastic wrap and place ganache in the refrigerator to set for at least an hour before moving on with the recipe. Once the ganache has fully set, move onto the cookie dough.
- In a small saucepan over low heat melt the butter. Once the butter has melted, remove the pan from the heat and add the chocolate chips and cocoa powder, let it sit for a couple minutes then whisk it all together until you get a glossy smooth mixture. Transfer this to a bowl to cool slightly while you move onto the next steps.
- To the bowl of a stand mixer fitted with a paddle attachment, add the sugars, vanilla extract, salt, and eggs. Beat this on medium high speed for 6-8 minutes, set a timer!!, until the eggs are a voluminous light yellow color and most of the sugar has been dissolved. This step will help us achieve a dense chewy brownie like cookie. While the egg mixture is beating together, whisk the flour and baking soda in a small bowl until combined.
- After the eggs have been going for 6-8 minutes, scrape down the sides of the bowl and then add the chocolate mixture slowly while the mixer runs on low speed. Once the chocolate has been added, scrape down the sides of the bowl then mix on medium speed until everything is fully mixed. Add the flour mixture and mix the dough on low speed just until the dough comes together.
- Once the dough has been mixed we can assemble the cookies. The easiest way to do this is scoop everything out first then combine the pieces. Use a 2 tablespoon scoop to scoop out all the dough, you should get 22 balls. Use a 1 tablespoon scoop for the ganache to get 11 balls.
- To form the cookies, slightly flatten out 2 of the cookie dough balls, place one in the palm of your hand then place a ganache ball in the center and sort of drape the second flattened piece of dough over the ganache ball.
- Gently smoosh the seams of the dough balls together then carefully roll the dough balls with your hands to have a fully encased ball of ganache inside the center of the cookie dough.
- Place the dough balls on a large plate or small baking sheet, repeating the process until you’ve used up all the dough then carefully wrap the dough balls with plastic wrap and place in the refrigerator for at least a couple of hours, this will ensure the ganache stays inside the cookie and gives us that molten center.
- When you’re ready to bake the cookies, preheat the oven to 350ºF and line 2 large baking sheets with parchment paper.
- Place 6 of the dough balls evenly spaced on one of the baking sheets and bake for 16 minutes, until the cookies have slightly flattened out and there are some cracks around the edges of the cookie.
- Let the cookies hang out on the baking sheet for at least 15 minutes, they will need this rest to sort of firm up. The combo of the hefty size and molten center make them a little sensitive to big moves and loud noises when they first come out of the oven.
- While the first baking sheet rests, place the remaining 5 balls of dough on the other baking sheet and bake for the same amount as the first one.
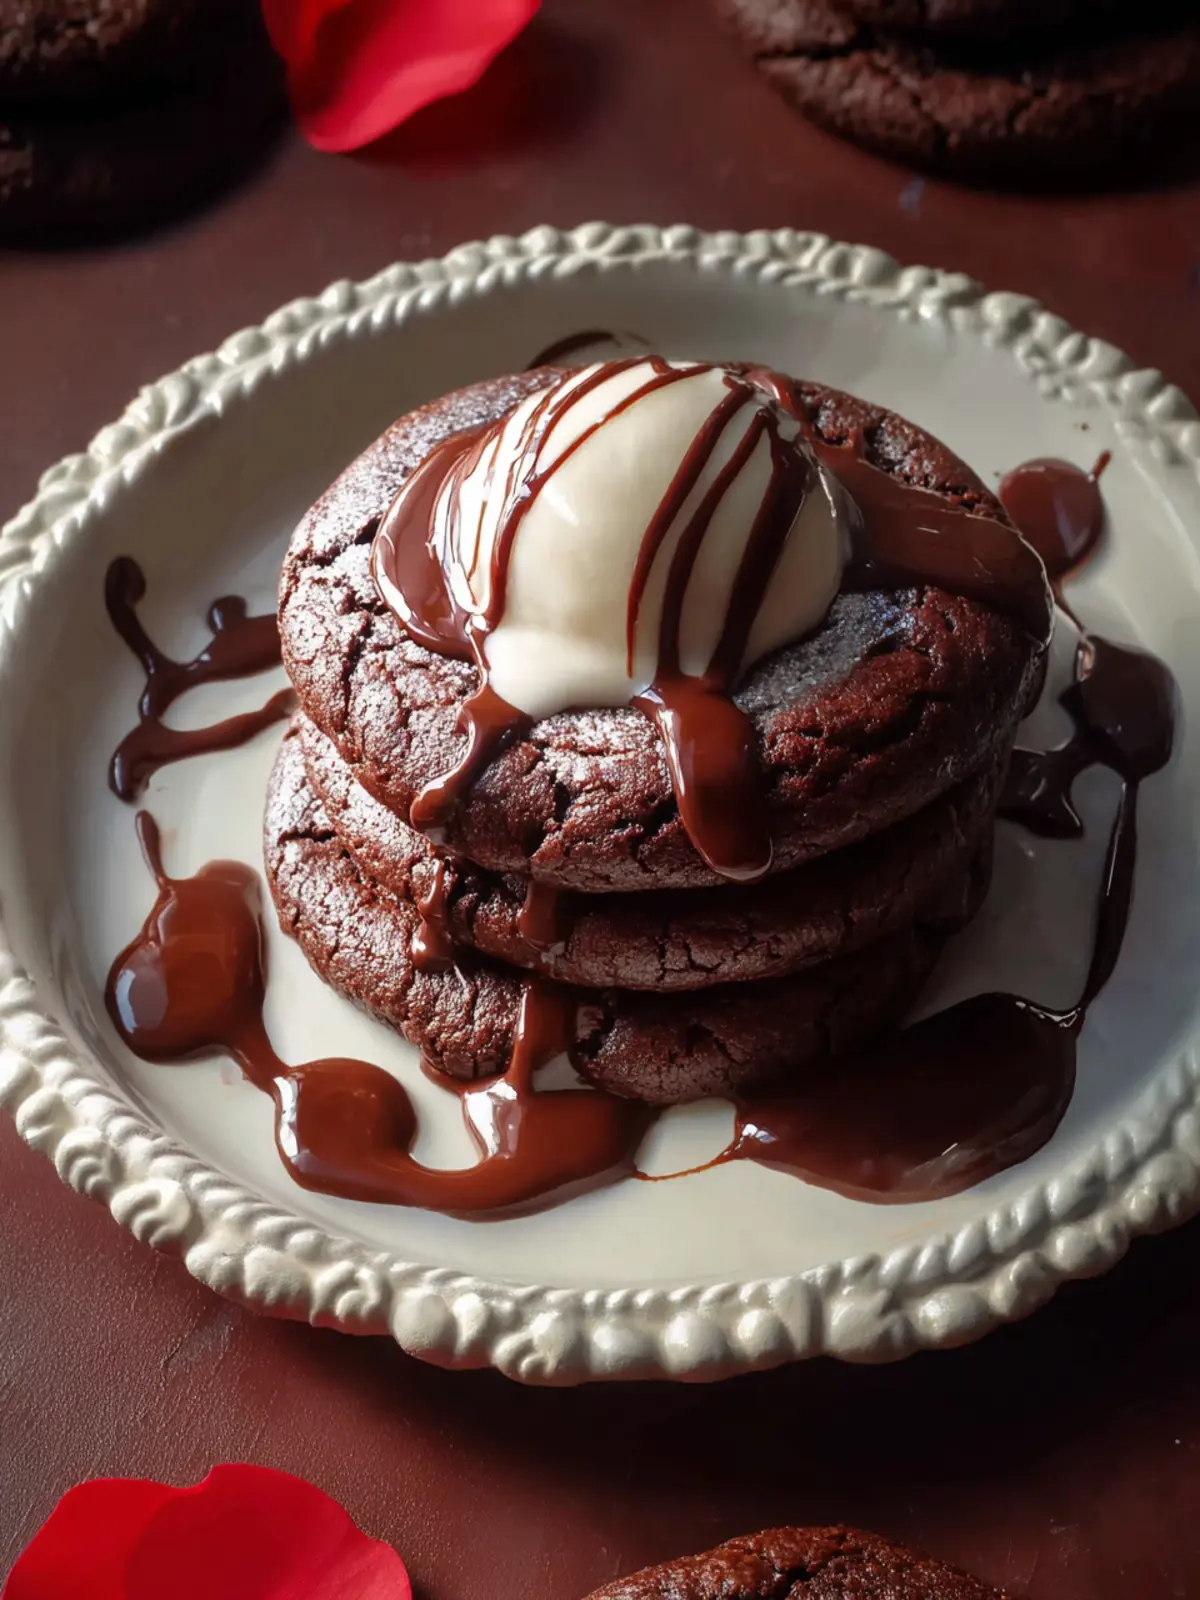
- After the 15 minute minimum, you can serve! I like to serve these warm with vanilla ice cream, using the molten center almost like a hot fudge. The center should stay warm for an additional 20 minutes or so and if you’re realizing it’s not melted enough for you you can pop it in the microwave for 10-15 seconds to re-melt the center. Store any leftover cookies in the refrigerator because of the heavy cream in the ganache and reheat for 10-15 seconds before serving.
Notes
- Chill the dough before baking to prevent spreading.
- For even more indulgence, add a scoop of ice cream on top when serving.
- Prep Time: 30 minutes
- Cook Time: 16 minutes
- Category: Desserts
- Method: Baking
- Cuisine: American
Nutrition
- Serving Size: 1 cookie
- Calories: 220
- Sugar: 18g
- Sodium: 150mg
- Fat: 12g
- Saturated Fat: 7g
- Unsaturated Fat: 4g
- Trans Fat: 0g
- Carbohydrates: 30g
- Fiber: 1g
- Protein: 2g
- Cholesterol: 40mg