Follow Me On Social Media!

Polar Bear Paws Candy: Irresistibly Gooey and Fun Treats
Introduction to Polar Bear Paws Candy
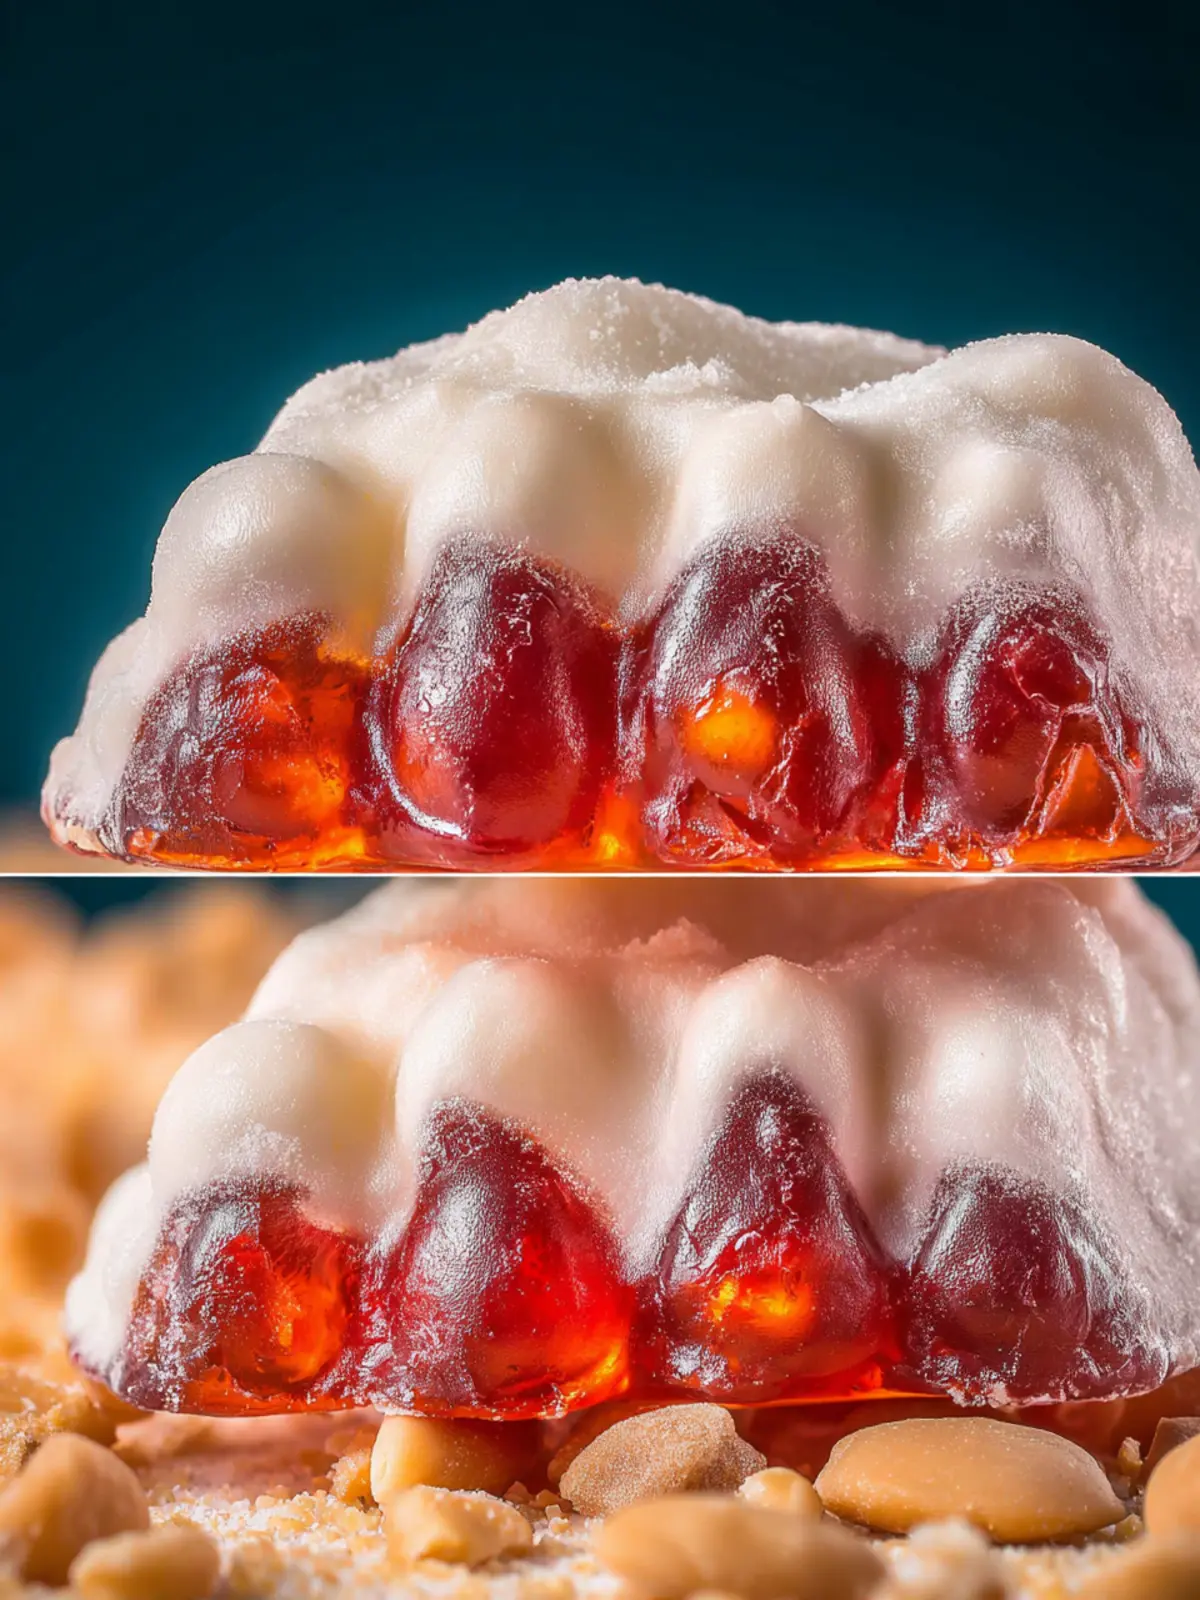
Imagine unwrapping a delightful treat that brings you comfort on a chilly day; polar bear paws candy embodies this cozy experience with its delightful blend of flavors. Inspired by nothing short of whimsy and childhood nostalgia, this sweet indulgence merges the creamy richness of peanut butter with the satisfying crunch of pretzels and chocolate. Just like a furry polar bear paw leaving its print in the snow, each candy adds a delightful footprint on your tastebuds, making it a perfect snack for gatherings or a sweet pick-me-up at home.
What are Polar Bear Paws Candy?
Polar bear paws candy is essentially a no-bake confection that combines key ingredients like creamy peanut butter, fluffy marshmallows, crunchy pretzels, and rich chocolate. This whimsical treat is easily made, making it ideal for both novice bakers and seasoned chefs looking for a fun activity. As a child, I remember making these with my family during the holidays, and now, sharing that joy with friends has become a cherished tradition.
The Flavor Combination
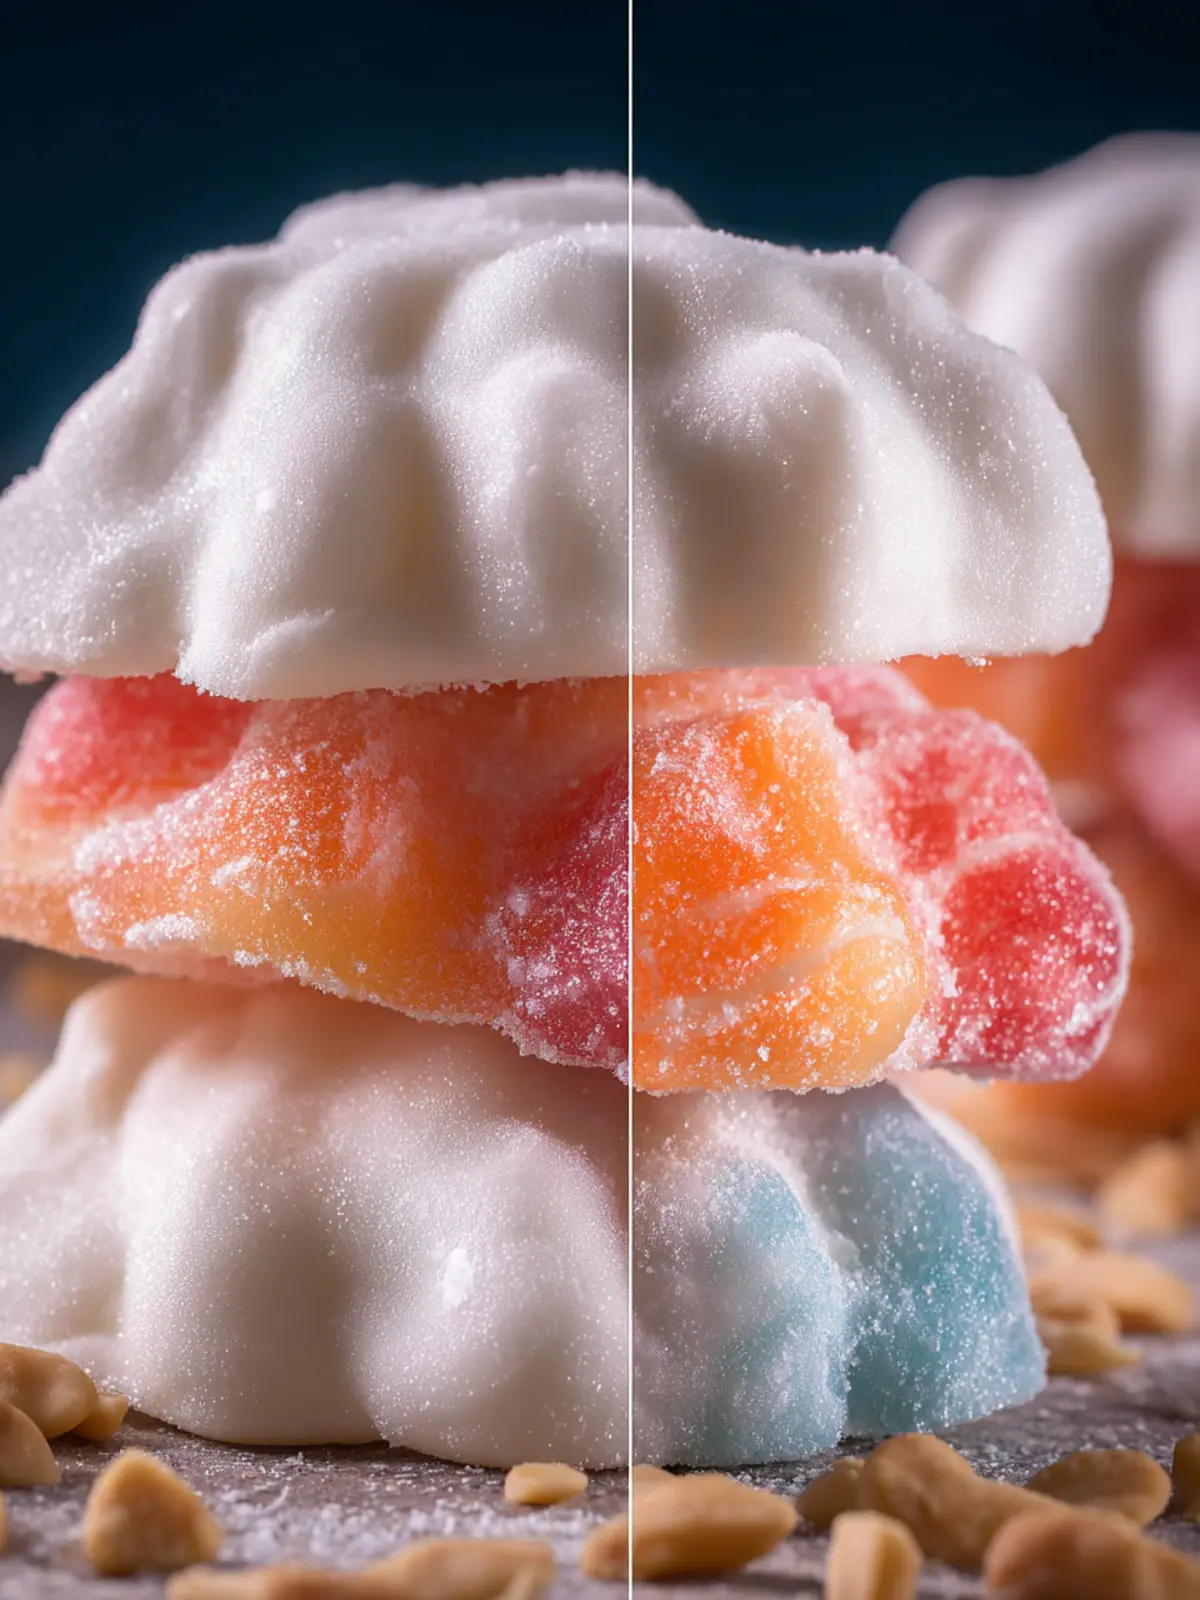
At its core, polar bear paws candy is a celebration of sweet and salty flavors. The creamy peanut butter provides the rich base that melds seamlessly with the chewy mini marshmallows, creating a playful texture. Meanwhile, the addition of pretzels offers a delightful crunch that contrasts beautifully with the smoothness of the chocolate coating.
Perfect for Any Occasion
What I love most about this candy is its versatility. Whether you’re preparing for a holiday gathering, packing goodie bags for a birthday party, or simply looking to brighten someone’s day, polar bear paws candy fits the bill. It’s one of those treats that can evoke smiles and spark conversations, making it a staple in my dessert repertoire.
In the following sections, we’ll take an in-depth look at the key ingredients and the step-by-step instructions to make your very own polar bear paws candy. Get ready to discover a sweet creation that’s sure to leave a lasting impression, both on your palate and in your heart.
Key Ingredients for Polar Bear Paws Candy
Crafting the delightful polar bear paws candy offers an exciting opportunity to create a sweet treat that’s as fun to make as it is to eat. Each ingredient plays a vital role in achieving the perfect balance of taste and texture.
-
Chocolate: The star of the show! I prefer using milk chocolate for its creamy sweetness, which pairs beautifully with the crunchy elements. Dark chocolate can add depth if you enjoy a richer flavor. Choose high-quality chocolate that melts smoothly for best results.
-
Peanut Butter: Creamy peanut butter is essential! It not only brings its familiar, nutty flavor but also contributes to the delightful, chewy texture we crave in polar bear paws candy. If you have allergies, feel free to opt for sun butter or a nut alternative.
-
Confectioners’ Sugar: This ingredient is the key to binding everything together while providing a luscious sweetness. Make sure to sift it before adding to prevent clumps.
-
Rice Cereal: The crispy, crunchy texture of puffed rice adds that signature crunch, bringing the entire candy together. It’s the perfect contrast to the smooth chocolate and peanut butter combo.
-
Mini Marshmallows: Adding these fluffy morsels introduces a delightful chewiness and a hint of sweetness, balancing the richness of the chocolate and peanut butter.
Embrace these ingredients to unleash your inner candy maker, and enjoy the sweet rewards of your hard work!
Why You’ll Love This Recipe
Creating polar bear paws candy is more than just making a delicious treat; it’s about capturing the comfort and joy of simpler times. Imagine gathering around the kitchen with friends or family, laughter filling the air while you all work together to craft these delightful goodies. The aroma of melting chocolate paired with the sweetness of peanut butter instantly transports you to a cozy afternoon, where every bite feels like a warm hug.
The beauty of polar bear paws candy lies in its simplicity and versatility. With just a handful of ingredients, you’re empowered to create something that not only tastes fantastic but also brings a sense of nostalgia. Whether you’re planning a holiday gathering, looking for an easy dessert for game night, or simply want a delightful snack, this recipe fits the bill perfectly.
What’s more, the delightful crunch from the cereal coupled with the creamy chocolate and peanut butter creates an irresistible combination. Plus, they’re straightforward to make, which means you can whip them up even on your busiest days. Once you try them, you’ll understand why they become an instant favorite; they strike the perfect balance between indulgence and ease. So roll up your sleeves, get your ingredients together, and get ready to create a treat that everyone will love!
Variations on Polar Bear Paws Candy
Creating polar bear paws candy opens the door to a world of delightful variations, ensuring that this sweet treat never gets boring. Whether you want to switch things up for a special occasion or just for fun, there are plenty of creative spins to try.
Chocolate Alternatives
While chocolate is a classic for coating your polar bear paws candy, you can experiment with different types. Try using dark chocolate for a richer flavor or white chocolate for a sweeter, creamier finish. You could also go rogue and use butterscotch or caramel for a unique twist that adds depth to the flavor.
Nutty Additions
Incorporating nuts can add a fantastic crunch and flavor profile. Consider mixing in some crushed almonds, pecans, or even macadamia nuts for a tropical flair. Just chop them finely and fold them into the peanut butter or sprinkle them over the top before coating in chocolate.
Flavorful Mix-ins
For a more adventurous bite, spices or extracts can elevate the basic recipe. A dash of cinnamon or some vanilla extract can add warmth, while a pinch of sea salt can enhance the sweetness and elevate the overall taste.
Themed Creations
Why not tailor your treats for different seasons? Add orange zest for a fall-themed candy or peppermint extract for a festive holiday twist. You can even shape your polar bear paws candy into holiday characters like Santas or bunnies—perfect for gatherings!
With these variations, your polar bear paws candy can become a go-to treat for any occasion, keeping things exciting for your taste buds.
Cooking Tips and Notes for Polar Bear Paws Candy
Creating polar bear paws candy is not just about following a recipe; it’s about crafting a delightful experience that brings a bit of whimsy to your kitchen. Here are some helpful tips to ensure your candy turns out perfectly delicious every time.
Choosing Your Chocolate Wisely
The base of your polar bear paws candy is the chocolate, which is crucial since it sets the tone for flavor and texture. Opt for high-quality chocolate—whether it’s white, milk, or dark—this can really elevate your candy. If you’re feeling adventurous, you can even try mixing different types to create a unique flavor blend.
Perfecting the Peanut Butter Layer
For that rich, creamy texture, choosing the right peanut butter is essential. I recommend natural peanut butter, as it has a smoother consistency and adds a wholesome flavor. If you’re using store-bought varieties, make sure they are stirred well to achieve a creamy consistency.
Managing the Assembly
When layering the chocolates, make sure the base layer is set before adding the peanut butter. This prevents the layers from mixing and keeps your candy looking visually striking. Patience is key here, don’t rush; allow time for each layer to cool and solidify.
Storage Tips
After crafting your polar bear paws candy, store them in an airtight container at room temperature. This helps maintain their texture and keeps them fresh for several days. If you live in a warm climate, consider refrigerating them but remember to let them sit at room temperature before serving for the best texture.
Tapping into these tips can turn a simple candy-making session into a fun and rewarding culinary adventure!

Serving Suggestions for Polar Bear Paws Candy
Pairing Polar Bear Paws Candy with the right accompaniments can elevate your treat from delightful to unforgettable. Imagine presenting these delicious morsels at your next gathering. Not only will they be a hit, but you’ll also impress your guests with thoughtful pairings that enhance the experience.
Enjoy with Warm Beverages
Consider serving Polar Bear Paws Candy alongside warm coffee, hot cocoa, or a spiced tea. The sweetness of the candy beautifully balances the bitter notes of coffee, while hot cocoa creates a comforting contrast during chilly evenings.
Perfect for Celebrations
These treats make for eye-catching additions at parties or family gatherings. Place them on a festive platter or inside themed treat bags for your guests to enjoy. If you’re planning a holiday gathering, consider mixing Polar Bear Paws Candy with other treats like pretzels and chocolate-covered fruits for a well-rounded dessert table.
Share the Joy
Encourage sharing by packaging them in small mason jars. Personalizing each jar with a tag or ribbon not only provides a lovely presentation but makes for thoughtful gifts. Imagine the smiles when friends receive a sweet surprise at their doorstep!
With these serving suggestions, your Polar Bear Paws Candy is sure to become a memorable highlight in any setting!
Time Breakdown for Polar Bear Paws Candy
Creating those delightful polar bear paws candy treats is a rewarding journey into the world of sweet confections. The magic begins with a little organization to keep everything flowing smoothly.
Preparation Time
Gathering ingredients and setting up your workspace will take about 15 minutes. This time is crucial for ensuring that each component is ready to go when you’re making your candy.
Cooking Time
The actual cooking comes in around 10 minutes. During this time, you’ll be melting, mixing, and bringing those delicious flavors together.
Cooling Time
After cooking, it’s essential to let your polar bear paws candy cool properly, which usually takes about 30 minutes. This step ensures the candy sets perfectly.
Total Time
In total, you’re looking at an easy one-hour process from start to finish. You’ll have a delightful treat that’s perfect for sharing—or enjoying all by yourself!
Nutritional Facts for Polar Bear Paws Candy
When indulging in the delightful world of polar bear paws candy, it’s worth considering what goes into each scrumptious piece. Not only are these treats fun to make, but they also have some nutritional aspects to note, perfect for sharing or enjoying during cozy nights in.
Calories
Each piece of polar bear paws candy typically contains around 100 calories. It’s easy to lose track when snacking on these delightful morsels, but being mindful of portion sizes can help you savor each bite without overindulging.
Protein
While polar bear paws candy isn’t a protein powerhouse, you can find about 1-2 grams of protein in each serving. The sweet combination of peanut butter and chocolate may not provide much muscle fuel, but it surely satisfies sweet cravings.
Sugar Content
Each delicious treat has around 10-12 grams of sugar. The mix of chocolate and sweet fillings does ramp up the sugar content, so it’s a good idea to enjoy them in moderation, especially if you’re watching your sugar intake.
FAQ about Polar Bear Paws Candy
Creating Polar Bear Paws Candy is not only a delightful treat but also an exciting adventure in the kitchen! Here, we’ll address some frequently asked questions to help you make the most of your candy-making experience.
Can I use different nuts?
Absolutely! While this recipe traditionally uses peanuts or pecans, feel free to mix it up with your favorites. Almonds, walnuts, or even hazelnuts can add a unique flavor profile. Just remember to chop them into similar sizes for even distribution throughout your candy.
How should I store Polar Bear Paws Candy?
To keep your Polar Bear Paws Candy fresh, store them in an airtight container at room temperature. If you live in a particularly warm area, consider refrigerating them to prevent melting. Just be sure to let them come to room temperature before diving in!
Can I make these ahead of time?
Yes, making Polar Bear Paws Candy ahead of time can actually enhance the flavors. Prepare them a few days in advance and enjoy the convenience during your gathering or holiday preparation. They also make for a great last-minute gift when packaged nicely.
What can I substitute for almond bark?
If you don’t have almond bark, white chocolate is a suitable substitute. Just be careful to melt it gently and monitor the heat closely, as chocolate can scorch easily. You can also try using a vegan chocolate alternative if you’re looking for a dairy-free version.
How long do they last?
When properly stored, your Polar Bear Paws Candy can last for about 2 weeks. However, if you can’t resist the deliciousness, they might not be around that long! Enjoy every bite and share them with friends for a delightful treat.
Conclusion for Polar Bear Paws Candy
Creating Polar Bear Paws Candy is not just a delightful activity but also a memorable experience to share with friends and family. This treat is perfect for holiday gatherings or just a cozy night in. Enjoying the blend of chocolate, nuts, and marshmallows evokes a sense of nostalgia that many will appreciate.
As you try this recipe, feel free to add your personal touch—maybe a sprinkle of sea salt or some festive sprinkles on top. The joy lies in making these treats uniquely yours. So gather your loved ones, create some magic in the kitchen, and cherish every bite of your homemade polar bear paws candy!
Print
Chocolate Caramel Clusters
- Total Time: 1 hour 15 minutes
- Yield: 24 clusters 1x
- Diet: Vegetarian
Description
These delicious chocolate caramel clusters are easy to make and perfect for any occasion!
Ingredients
Scale
- 11 ounces soft caramels
- 3 Tablespoons heavy cream
- 1 Tablespoon butter
- 1 1/4 cups roasted peanuts
- 10 ounces vanilla almond bark
- 1 Tablespoon coconut oil
Instructions
- In a medium saucepan, add the unwrapped soft caramels, heavy cream, and butter.
- Place over medium heat and stir frequently until the caramels are fully melted and the mixture is smooth and uniform.
- Remove from the heat. Add the roasted peanuts and stir until they are evenly coated. Allow the mixture to cool for 20–25 minutes, stirring once halfway through to prevent the bottom from setting too quickly.
- Line a baking sheet with parchment paper or a silicone mat. Using a medium cookie scoop (1½ tablespoons), portion the mixture into mounds on the prepared sheet. The cooler the caramel is when scooped, the less the clusters will spread.
- Let the clusters cool completely until firm. To speed this up, place the baking sheet in the refrigerator or freezer. Thanks to my warm kitchen in Florida, I have to refrigerate for at least 1 hour.
- Place the vanilla almond bark (or candy coating) and the oil in a microwave-safe bowl. Heat in 20-second intervals, stirring thoroughly after each, until completely melted and smooth.
- Using a fork, dip each cooled cluster into the melted almond bark, letting excess coating drip off, then return it to the lined baking sheet. Once all clusters are coated, refrigerate again briefly if needed until the chocolate is fully set.
Notes
- These clusters are best stored in an airtight container.
- Experiment with different nuts or toppings for a unique twist!
- Prep Time: 15 minutes
- Cook Time: 30 minutes
- Category: Dessert
- Method: Stovetop and Microwave
- Cuisine: American
Nutrition
- Serving Size: 1 cluster
- Calories: 150
- Sugar: 12g
- Sodium: 50mg
- Fat: 7g
- Saturated Fat: 4g
- Unsaturated Fat: 2g
- Trans Fat: 0g
- Carbohydrates: 19g
- Fiber: 1g
- Protein: 2g
- Cholesterol: 10mg